Skip to content

If you buy patches for apparel or promotional products, the trouble starts before anyone stitches anything. Each new design needs a steel die. Dies cost hundreds of dollars, take one to three weeks to arrive, and then live on a shelf forever. On a fifty-piece run that math never works out, which is why short custom jobs get quoted high or turned down.
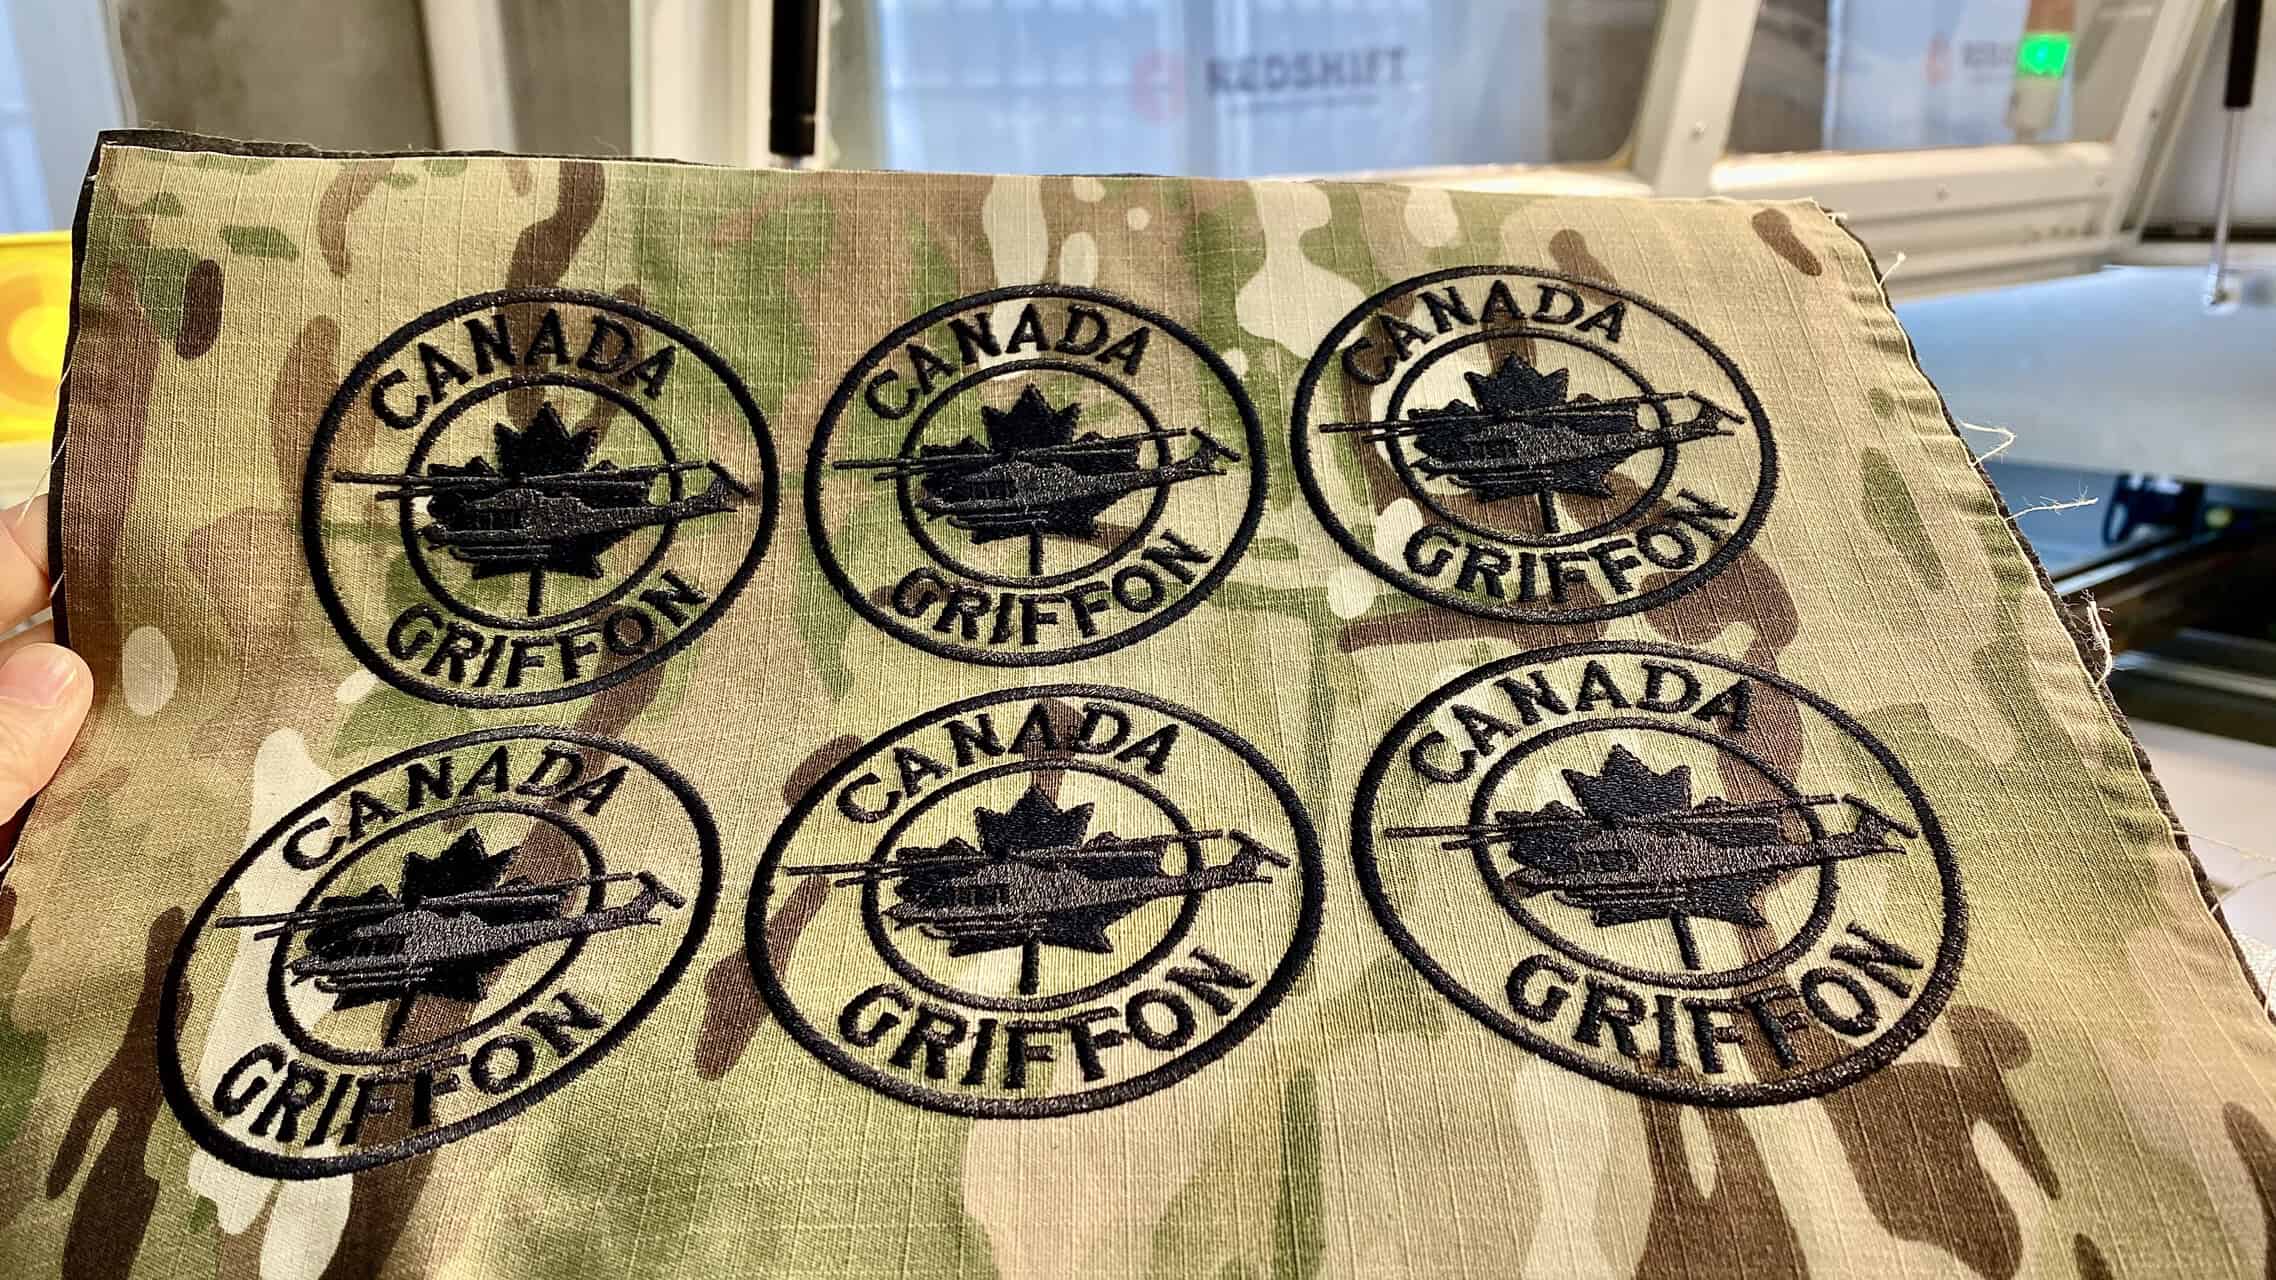
A laser moves the whole problem. The machine reads a digital file and handles the entire patch in one setup. It engraves the detail, cuts the outline, and kiss-cuts the adhesive backing. There is no die to order and no tooling wait, so the short runs that die-cutting handles badly become work you can quote fast and still earn on.
I had a client who ran production for a major promotional products company. His team ordered a new steel die for every event and every client logo, waited weeks for each one, and stored the dies afterward. He called me asking how fast our lasers cut. I told him that was the wrong question. I asked him, "What if you could eliminate the dies, the die-press, and the separate adhesive application step?" Then I ran one job from a digital file and handed him a finished peel-and-stick patch. He saw the point quickly. The machine would change how his factory took orders.
What Steps Does One Laser Replace in Patch Production?
A laser runs engraving, outline cutting, and the adhesive kiss-cut in one digitally controlled job. It takes over from the die and the die-press, and it absorbs the station where someone applied adhesive by hand.
Most patch floors still run like an assembly line. One station cuts, another embroiders or prints, and someone applies adhesive at the end. Every step has its own setup, and small custom jobs strangle in the gaps between them. The laser folds the cutting and finishing work into a single file that anyone can edit between orders.
1. Eliminating Steel Die Tooling
A die handles complex shapes and internal cutouts without much trouble, so tooling is rarely about what a die can physically cut. The trouble is that it cannot change. Every new design restarts the order, the one-to-three-week wait, and a bill of a few hundred dollars. Inner corners also stop where the steel rule stops bending, around a 0.8 mm radius. A laser reads your vector file directly. New design, new file, and production can start the same afternoon. The digital workflow is the one we covered in our piece on CO2 laser cutting in textile manufacturing.
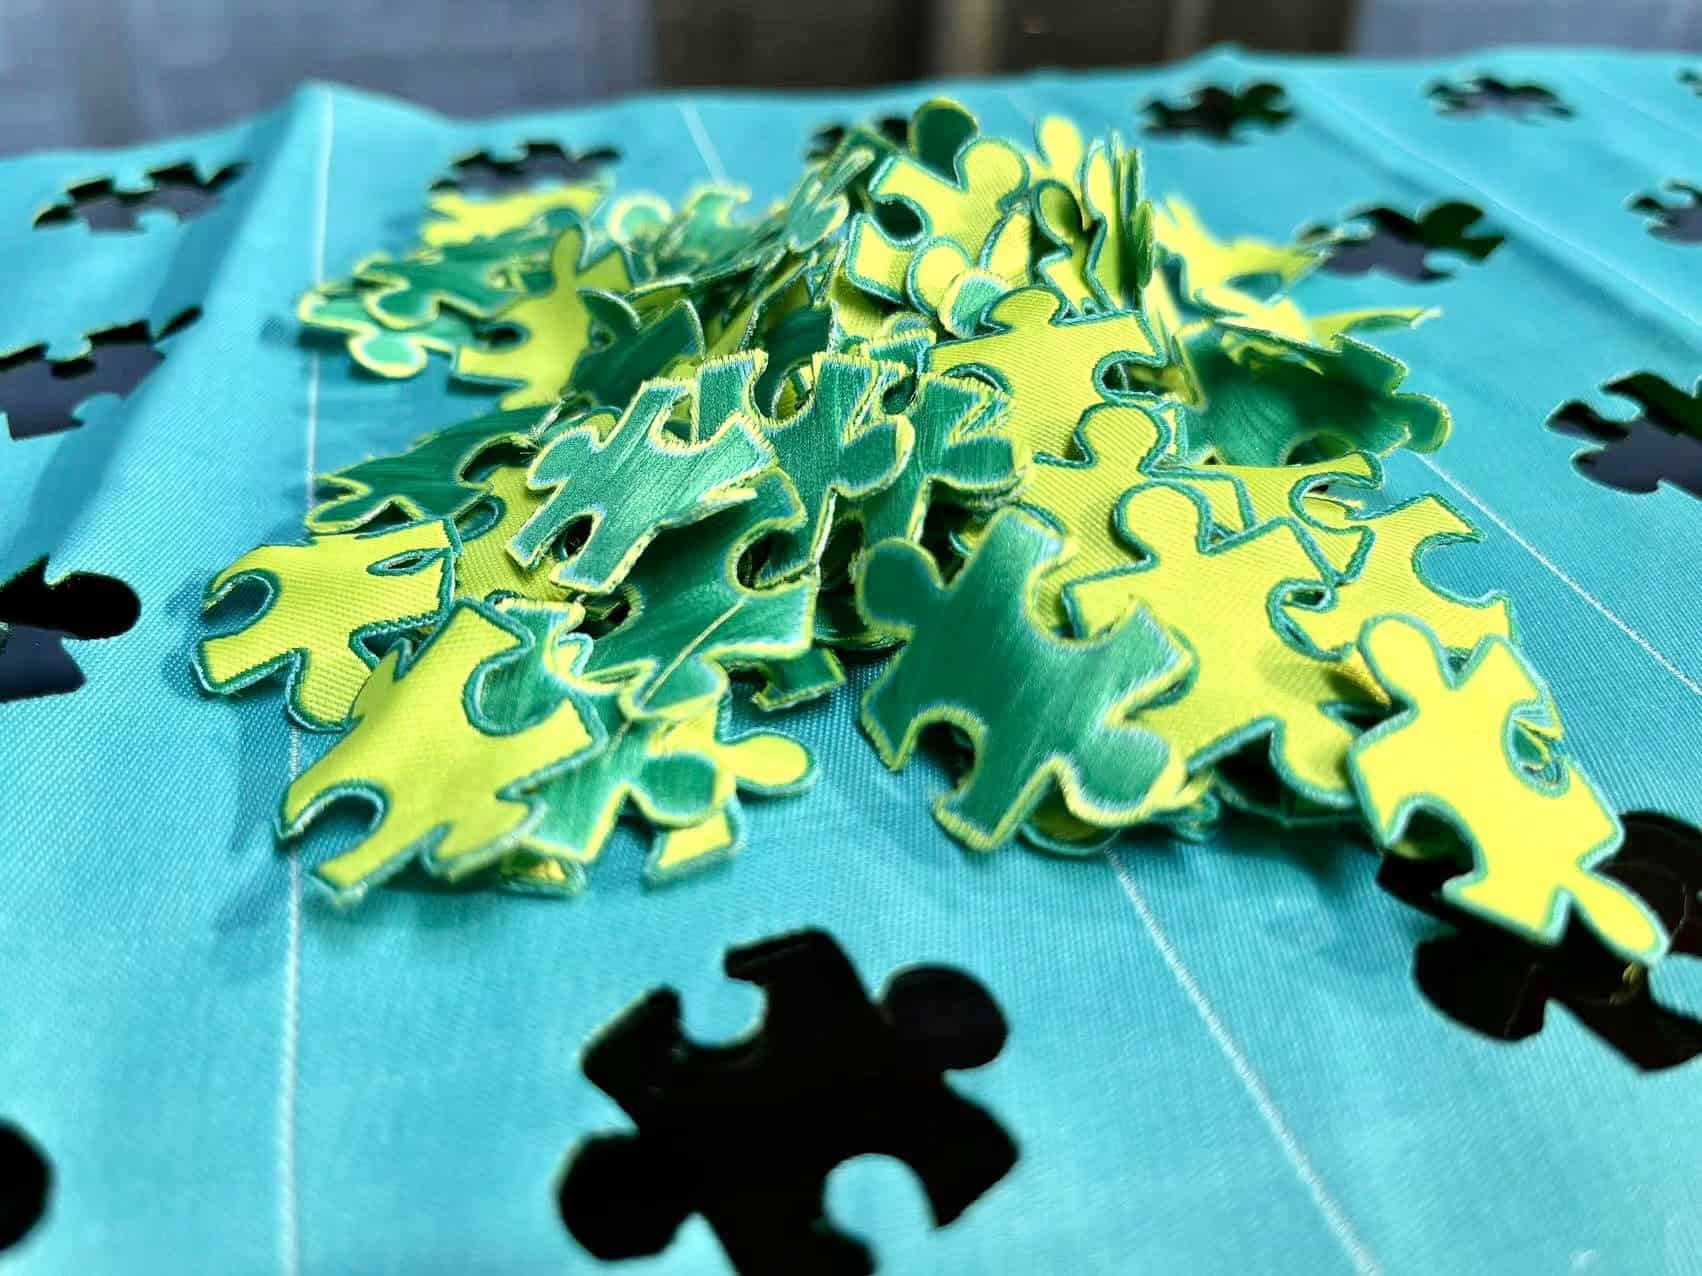
2. On-Demand Production
One sample costs about as much to start as a run of one thousand. Nothing gets amortized across the order. You can prototype on Monday, ship twenty rush pieces on Wednesday, and never open a tooling line item. Die-cutting makes those jobs awkward to quote, which is how factories end up turning them away.
3. Complex Shapes and Tight Corners
With a laser the shape limit moves from the die shop to your design file. Sharp internal corners, lettering, and intricate outlines all come out of the same vector path. Designers can iterate between samples without a new purchase order for tooling.
| Traditional Die-Cutting | Laser | |
|---|---|---|
| Tooling cost | High, hundreds of dollars per design | None |
| Tooling lead time | 1 to 3 weeks | No tooling to wait for |
| Minimum order | High enough to spread the tooling cost | One |
| Design changes | New die, new cost, new wait | New file |
| Design flexibility | Complex shapes possible, inner corners limited by rule radius | Tight inner corners and fine detail |
How Can a Laser Engrave and Cut in One Go?
The machine switches power and motion inside a single job. It raster-engraves the surface detail first and then vector-cuts the outline, with the material clamped in one position throughout. Alignment holds because nothing gets re-fixtured between the two.
Engraving and cutting ask for very different beam settings, and the control software moves between them on its own. You prepare both operations in one file and press start.
1. Raster Engraving for Detail
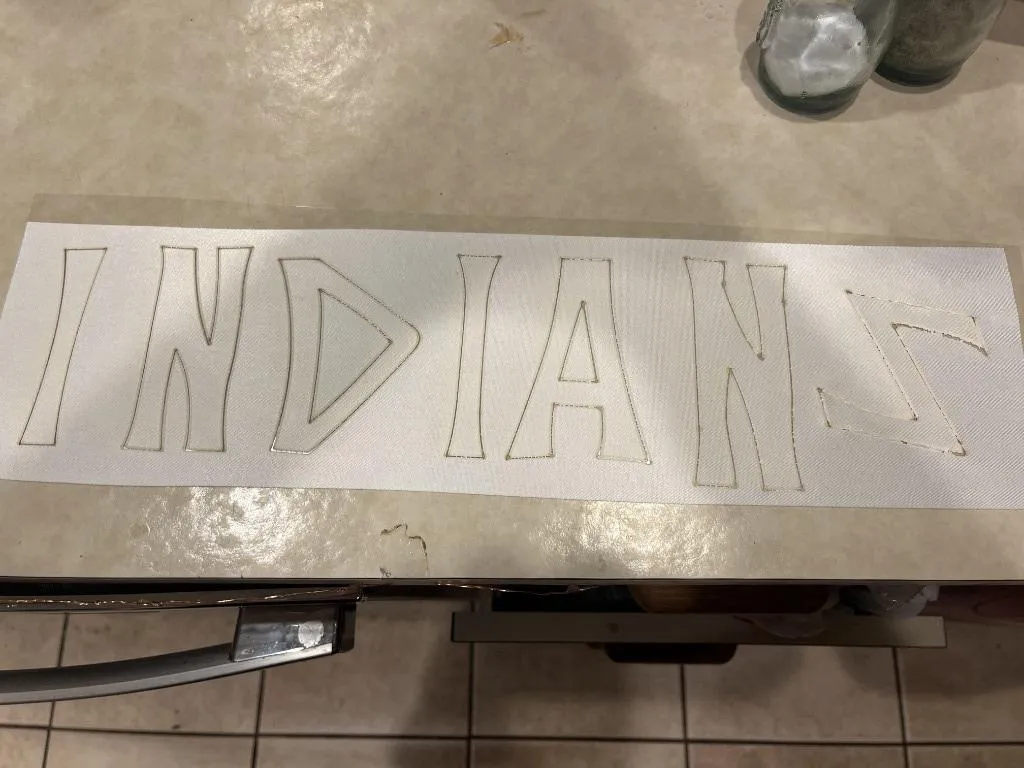
The head sweeps side to side across the material the way an inkjet carriage moves, at low power. It vaporizes the very top of the surface and leaves a textured effect behind. Fine lines, logos, and faux-stitching details come out this way on twill and other patch fabrics.
2. Vector Cutting for Outlines
Cutting follows the outline path at higher power and goes through the material. On a kiss-cut job it stops at the liner instead. We wrote at length about edge quality on laser-cut patches if you want to see what the cut actually looks like.
3. Layers in a Single File
Assign the engraving to one color in your design and the cutting lines to another. Black and red work fine. The software reads each color as its own operation with its own power and speed, running the engraving first and the cut second. The one part worth reading up on is the file format for CO2 laser cutting, because everything downstream follows from it.
| Traditional Multi-Step | Single Laser Job | |
|---|---|---|
| Labor steps | 2 to 3 (engrave, re-fix, cut) | 1 (load and start) |
| Equipment | Engraver and die-press | One laser |
| Re-fixturing between steps | Needed | None |
| Design to first piece | Weeks, waiting on dies | Hours |
What Is a Kiss-Cut and How Does It Work with Adhesive Backing?
A kiss-cut slices through the patch fabric and the adhesive layer and stops at the paper liner underneath. The liner stays intact, the patch stays on the sheet, and the user peels it off ready to stick.
Peel-and-stick patches carry real perceived value, and the customer applies one in seconds. The old way, someone cut the patches first and then glued adhesive sheets onto the backs one at a time. The laser route puts the adhesive on first and finishes the patch in one job.
1. How the Kiss-Cut Works
Cut depth is a power and speed setting. For a peel-and-stick sheet, one path traces the patch shape through fabric and adhesive and lands on the liner. If you want loose patches instead, a through-cut at higher power goes through the liner as well, and every patch leaves with its own backing piece. Both paths live in the same file. Pick the one that matches the product you are selling. Each patch takes seconds.
2. Applying the Adhesive Before Cutting
You laminate adhesive onto the back of your bulk fabric before anything goes into the machine. Two adhesive families are common and they make different products. Heat-activated film gives you iron-on patches that a heat press bonds at application. Pressure-sensitive film with a paper release liner gives you the peel-and-stick version, and that is the route the kiss-cut serves. Either way, laminating the sheet once replaces the old step of applying adhesive patch by patch. For hook-and-loop patches we have also written about adhesive technology on laser-cut Velcro.
3. What the Customer Gets
The box contains a finished, ready-to-apply product instead of loose fabric pieces. That adds perceived value at the unboxing, and it simplifies your own packing and fulfillment.
Conclusion
The speed of a laser matters, and the tooling savings show up on the first order. The larger change sits in the workflow. One machine takes a digital file and returns engraved, cut, adhesive-backed patches in one setup. Dies come off the budget. Lead times shrink to whatever your queue looks like. For a factory built on short runs and custom work, that is where the machine pays for itself.
Frequently Asked Questions
Q1. What is the biggest advantage of a laser over a die-press for patches?
One job does the work of several stations. Detail engraving, outline cutting, and the adhesive kiss-cut all happen in one setup, so the dies, the press, and most of the hand labor leave the process.
Q2. How does a laser cut tooling costs?
Everything runs from a digital design file, so there is no steel die to buy, wait for, or store. The tooling line on a custom order goes to zero. Material and machine time still cost money.
Q3. What does kiss-cutting the adhesive backing mean?
The cut goes through the patch fabric and the adhesive layer and stops at the paper liner. The liner stays intact, which is what lets a patch peel off the sheet cleanly and stick straight onto a garment or a bag.
Q4. Can a laser handle complex patch designs?
Yes. Dies can produce complex shapes too, with the catch that inner corners stop at roughly a 0.8 mm radius and every design change means new tooling. A laser follows the file, so sharp internal corners and fine detail cost nothing extra.
Q5. Is a laser practical for small custom orders?
That is where it works best. With no tooling and little setup, a single sample costs about the same to start as a larger run.
Q6. What materials work best for laser-cut patches?
Twill and felt are easy. Leather works too, with vegetable-tanned preferred and chrome-tanned needing strong extraction. Faux leather is safe only when it is chlorine-free PU or TPU. PVC and vinyl-based faux leather must never go near a laser, because they release chlorine gas that damages the optics and harms anyone breathing it. Good fume extraction matters whatever you cut. Chenille and other pile fabrics deserve a test cut first, since synthetic pile can scorch and fuse.
Q7. Do engraving and cutting need separate setups?
No. One file holds both. You assign the engraving and the cut lines to different colors, and the software applies the right power and speed to each.
Q8. How does this improve production speed?
On very large runs the per-piece cutting time can come close to a die-press. The bigger saving sits around the cutting. Designs move from file to finished patch in hours rather than weeks of tooling wait.
Q9. Does patch production with a laser need a highly skilled operator?
Less manual skill than the old multi-step process. Once the file is right, the machine runs it. The skills that matter are design software basics and routine machine maintenance.
Q10. What is the main ROI driver?
Capturing the short-run custom business that die tooling prices badly. Small orders stop being a headache and become the margin.