Skip to content
You're looking at a stack of cardboard and thinking it's the perfect material for your next laser project. It’s cheap, readily available, and seems incredibly simple to cut. But then you run your first job, and the results are a disaster. The edges are scorched, the intricate details are burnt away, and worst of all, the cuts don't even go all the way through, forcing you to punch them out by hand. Suddenly, this "easy" material feels frustratingly complex and is wasting your valuable time.
Yes, you can laser cut cardboard with stunning precision using a CO2 laser. The key to success is finding the right balance between high speed, low power, and strong, targeted air assist. This combination allows the laser to vaporize the material cleanly without setting it on fire. Most importantly, it ensures the laser beam fully penetrates all layers of the corrugated structure, resulting in a clean, pop-out cut straight off the machine bed, with minimal scorching or residue.

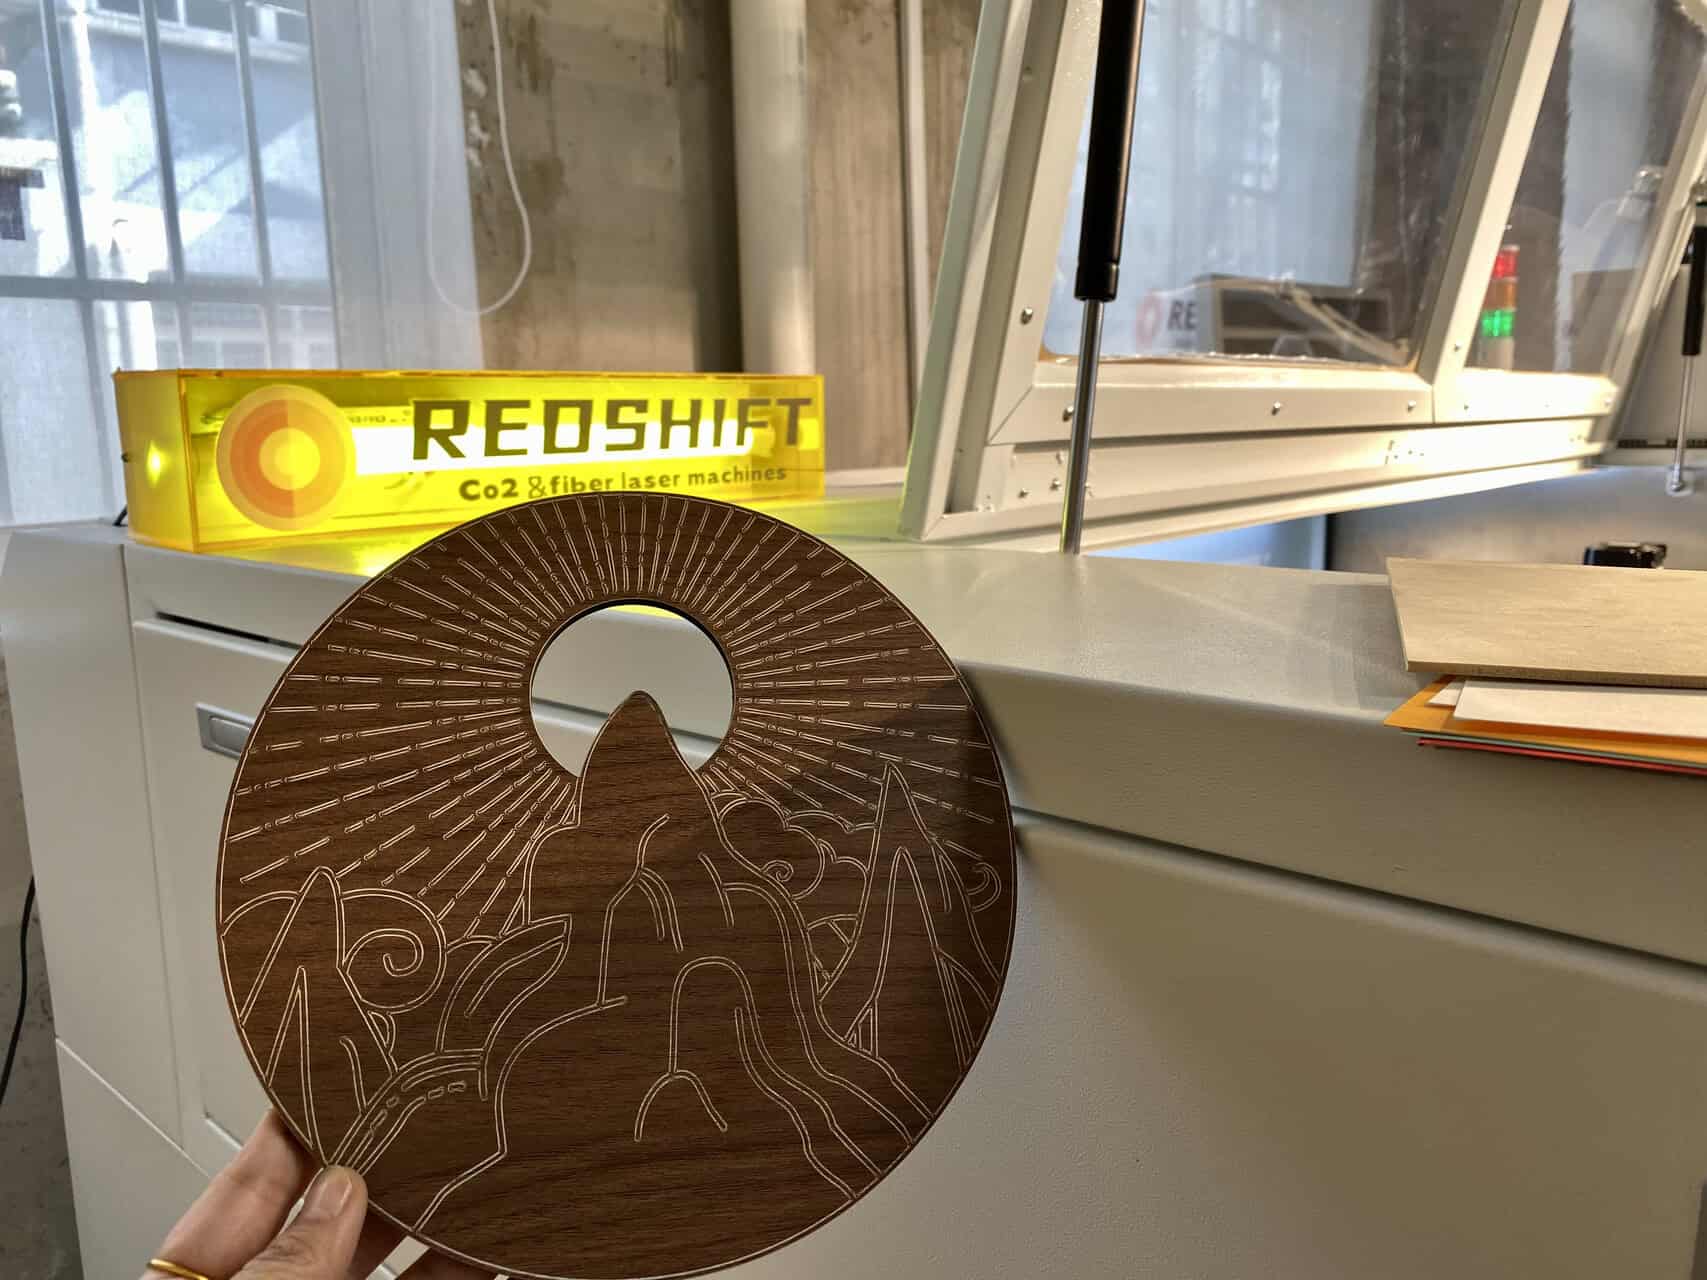
Many of our clients see cardboard as the ideal entry-level material. It’s perfect for prototyping and testing ideas without breaking the bank. However, from a production standpoint, it’s one of the most deceptive materials I’ve ever worked with in my five years at Redshift Laser. The main challenge isn't just its flammability, which is a common concern. The real problem lies in its corrugated structure. The laser beam has to constantly switch between cutting a solid paper liner and crossing the air gaps within the flutes. This structural inconsistency diffuses the beam’s energy, leading to incomplete cuts on the bottom layer while scorching the top one. To make it even trickier, the glues used in lamination can melt and re-solidify, creating messy, hardened edges. Let's dive into how to master these challenges and turn simple cardboard into something amazing.
Is Laser Cutting Cardboard Even a Good Idea?
So you've decided to use cardboard for your next project. It seems straightforward, but you might be worried about the learning curve and potential issues. Will it catch on fire? Will the final product look professional, or will it just look like a burnt box? This uncertainty can make you hesitate before committing to a big project.
The internet is full of conflicting advice. Some videos show people creating incredible art from cardboard with ease, while others show pictures of burnt disasters and failed projects. You don't have time for a trial-and-error process that could potentially damage your expensive laser machine or waste a lot of material. You need reliable information to get started correctly and safely. Understanding the basics of how a CO2 laser interacts with cardboard is the first step. When you get it right, it's not just about burning paper; it's a precise vaporization process that gives you clean, professional results.
Laser cutting cardboard is an excellent idea for prototypes, packaging, and art, provided you use the right tool and technique. The infrared light from a CO2 laser is perfectly absorbed by paper-based materials, allowing it to vaporize the cardboard along a very fine line. This creates incredibly sharp details and clean edges when the settings for power, speed, and air assist are properly calibrated to handle the material's unique structure.

Why a CO2 Laser is the Right Tool
CO2 lasers are the industry standard for working with organic materials like wood, acrylic, leather, and paper. Their specific wavelength of light (10.6 micrometers) is highly absorbed by these materials, allowing for efficient vaporization (cutting) or ablation (engraving). Other types of lasers, like fiber lasers, operate at a different wavelength that is reflected by most organic materials, making them ineffective for cutting cardboard.
Common Types of Cardboard for Laser Cutting
Not all cardboard is the same. The type you choose will directly impact your laser settings.
- Paperboard (or Cardstock): This is a solid sheet of paper, not corrugated. It's great for intricate designs like greeting cards or small boxes, but it can warp if your air assist has too much moisture.
- Single-Wall Corrugated: This is the most common type, with one layer of fluted paper between two flat liner sheets. It's the standard for shipping boxes and is excellent for prototyping. The main challenge here is cutting cleanly through all three layers.
- Double-Wall Corrugated: This is much thicker and stronger, with two fluted layers and three liner sheets. It's used for heavy-duty packaging and requires significantly more power to cut, which increases the risk of charring inside the flutes.
The Real Story on Fire Risk
The fear of fire is real but often exaggerated. Fires happen due to incorrect settings—usually too much power combined with too little speed—and inadequate air assist. A good air assist system blasts the cutting area with a stream of compressed air, which does two things: it removes vaporized material for a cleaner cut, and it extinguishes any "flare-ups" before they can ignite the material. The true challenge with cardboard isn't fire, but cut quality.
| Material Type | Best Use Case | Key Challenge |
|---|---|---|
| Paperboard | Detailed art, cards | Can warp easily with too much air pressure |
| Single-Wall Cardboard | Packaging prototypes | Inconsistent cutting through air gaps |
| Double-Wall Cardboard | Structural projects | Needs high power; risk of internal charring |
How Do You Set Up the CO2 Laser Cutting Process?
You have your cardboard flat on the laser bed, but now you're facing a screen full of complicated settings. Power, speed, frequency, air assist... it's overwhelming. You know that one wrong move could result in a smoldering mess or a cut that isn't fully separated from the main sheet. This guesswork is frustrating and slows you down.
Every failed attempt wastes your material and, more importantly, your time. You feel like you're just guessing, and those incomplete cuts on the bottom layer are infuriating because the top surface looks absolutely perfect. Why isn't the laser cutting through consistently? There's a systematic way to approach this problem. By focusing on three critical elements—Power, Speed, and Air Assist—and running a quick test, you can establish a reliable baseline and fine-tune it for perfect, pop-out results every time.
The process begins by securing the cardboard flat on the laser bed to ensure a consistent focal distance. Next, you must conduct a small test cut on a scrap piece to find the optimal settings. Start with high speed, low power, and high air-assist pressure. This baseline prevents burning while providing enough force to clear debris. From there, you can adjust power slightly until the cut fully penetrates all layers of the cardboard cleanly.

Step 1: Material Preparation
The first step is often overlooked. Corrugated cardboard is rarely perfectly flat. Any warping will change the laser's focal distance, leading to inconsistent cut quality. Use honeycomb pins, masking tape, or hold-down magnets to ensure the sheet is as flat as possible against the laser bed. A flat surface is a prerequisite for a good cut.
Step 2: The Core Settings - Power and Speed
For cardboard, the rule of thumb is "fast and light." You want to use the highest speed your machine can manage while maintaining accuracy, and pair it with the lowest power level that will still cut through the material.
- High Speed: Prevents the laser beam from dwelling in one spot for too long, which is the primary cause of scorching and fires.
- Low Power: Provides just enough energy to vaporize the paper and glue without excessively burning the edges. Finding the "sweet spot" is key.
Step 3: Mastering Air Assist
Air assist is non-negotiable for cardboard. It's the secret weapon against both fire and incomplete cuts. A strong jet of compressed air, directed right at the cutting point, does two crucial things. First, it extinguishes any flames that flare up. Second, it blows the vaporized material and debris downwards, away from the cut path. This is vital for helping the laser beam cut the bottom liner instead of losing its energy in a cloud of smoke inside the flutes. For cardboard, high-pressure air assist is almost always the best choice.
What is a Good Laser Machine for Cutting Cardboard?
You might be wondering if your current machine is up to the task or what to look for if you're planning to purchase one for packaging or prototyping. With so many options on the market, from small desktop units to large industrial machines, it's hard to know which features are essential and which are just nice to have.
Choosing the wrong machine can lead to constant frustration. An underpowered laser might struggle with thicker cardboard, while a machine without good air assist will produce burnt, messy results. For professional applications, especially in packaging where mockups need to be precise, you need a machine that is both reliable and capable of producing clean, consistent cuts every single time.
A good laser machine for cutting cardboard is a CO2 laser with at least 50 watts of power, a high-quality air assist system with an external compressor, and a durable motion system capable of high-speed cutting. For larger pieces, like shipping box prototypes, a pass-through feature is also highly beneficial. The Redshift Pro Series, for example, combines these features to deliver reliable performance for demanding cardboard applications.

Why Power Matters (But Isn't Everything)
While you'll be using low power settings for single-wall cardboard, having a higher-power tube (50-100W) gives you more flexibility. A 100W tube running at 20% power will often produce a more stable and consistent beam than a 50W tube running at 40% power. This stability is key for consistent results. It also gives you the ability to easily cut through double-wall or even triple-wall cardboard when needed.
The Importance of a Good Air Assist System
I can't stress this enough. Don't rely on the small, built-in aquarium-style pumps that come with some hobby lasers. For serious cardboard cutting, you need a dedicated external air compressor. This provides the high pressure and volume of air required to clear debris effectively and prevent charring, especially on complex designs or thick materials.
Motion System and Speed
Cardboard is cut at very high speeds. A machine's ability to move the laser head quickly while maintaining perfect accuracy is critical. Look for machines with high-quality linear rails1 and stepper or servo motors. A robust motion system2 ensures that your corners are sharp and your curves are smooth, even when the machine is moving at its top speed. This is something my client John, who specializes in packaging, values immensely. His mockups need to be perfect, and that starts with a machine that can be trusted to perform reliably.
Conclusion
Cardboard may seem like a simple material, but mastering it on a laser cutter separates the hobbyist from the professional. The key is to look past the fire risk and focus on the real challenge: the corrugated structure. By understanding how the laser interacts with the alternating layers of paper and air, you can move beyond basic power and speed settings. Mastering high-speed cutting, low-power delivery, and high-pressure air assist will allow you to conquer the inconsistencies and produce clean, sharp, pop-out cuts every time. It transforms a deceptive material into a predictable one, perfect for everything from rapid prototyping to beautiful works of art.