Skip to content
You want to create custom designs on canvas bags, shoes, or artwork. You've seen stunning examples online and think your CO2 laser is the perfect tool for the job. But when you try it, the results are a frustrating mix of success and failure. One piece comes out beautifully etched, while the next is a flaky, burnt mess, even with the same settings. You start to question if achieving consistent, high-quality results on canvas is even possible, wasting both time and valuable material in the process.
Yes, you can beautifully engrave canvas with a CO2 laser by using low power and high speed to avoid burning through the fabric. The most critical factor for success is identifying the canvas material. Natural fibers like cotton will char to create a dark, textured mark. Synthetic blends with polyester will melt, creating a clean, recessed, tonal engraving with sealed edges. Adjusting your technique based on this chemical reaction is the key to consistent, professional-quality results on any type of canvas.

In my five years at Redshift Laser, I've seen many people struggle with canvas. The biggest misconception isn't about getting the power settings right; it's the failure to understand the material itself at a chemical level. From a production standpoint, calling something "canvas" is almost uselessly broad. Are you working with natural cotton fibers that will char and become brittle under the laser? Or is it a synthetic blend with polyester that will primarily melt, causing the fibers to retract? You aren't just 'engraving' a surface; you're causing a specific polymer reaction. Failing to account for this material science is the number one reason for inconsistent quality. Let's dive into how to get it right.
What Should You Know Before Engraving Canvas?
You’re staring at a blank canvas tote bag, ready to turn it into a custom piece of art. But a wave of uncertainty hits you. Will the laser just burn a hole right through it? Will the design be sharp and clear, or will it end up fuzzy and scorched? You're worried that a single wrong move could ruin the product and damage your company’s reputation for quality.
This hesitation is completely normal. The fear comes from not knowing how the laser's energy will interact with the fabric's woven threads. You see a piece of cloth, but the laser sees a complex structure of fibers that can either char, melt, or vaporize. Without understanding the fundamental process, you're essentially just guessing with your settings. The secret is to stop thinking about it as "engraving" and start thinking of it as a controlled thermal reaction.
Before starting, you must understand that laser engraving canvas is not a cutting process but a surface treatment. A CO2 laser's infrared beam is absorbed by the canvas, generating intense heat. This heat causes one of two reactions: natural fibers like cotton will char (carbonize), creating a dark mark, while synthetic fibers like polyester will melt and recede. The goal is to apply just enough energy to create the desired effect without compromising the fabric's structural integrity, which is achieved with very low power and high speed.

What is Laser Engraving?
Unlike cutting, laser engraving (or etching) only affects the top layer of a material. The laser beam moves back and forth at high speed—a process called rastering—selectively firing at a low power setting to alter the surface. For canvas, this is more of a "kiss" than a cut. The beam's power is carefully controlled to be just strong enough to change the fabric's appearance without burning through the weave.
Why a CO2 Laser is the Right Tool
CO2 lasers are the perfect choice for organic and synthetic fabrics. Their wavelength is readily absorbed by the materials, allowing for a very controlled thermal effect. Other laser types, like fiber lasers, are designed for metals and would likely pass right through the canvas or require dangerously high power levels, making them unsuitable for this application.
Understanding the Thermal Reaction
This is the most important concept to grasp.
- Charring (Cotton & Natural Fibers): When the laser hits a cotton canvas, it rapidly heats the cellulose fibers. This process is essentially controlled burning, where the fibers turn into carbon. This creates a distinct, dark brown or black mark with a slightly raised, textured feel. The risk here is making the fibers too brittle, causing them to flake off.
- Melting (Polyester & Synthetic Blends): When the laser hits a synthetic canvas, it melts the plastic-based fibers. The fibers retract from the heat, creating a recessed, darker tonal effect. The melted edges are naturally sealed, preventing fraying. This often results in a cleaner, more durable engraving.
Which Types of Canvas Work Best for Laser Engraving?
You’re trying to source canvas for a new product line, but the options are overwhelming. You see terms like “100% cotton duck,” “poly-cotton blend,” and “waxed canvas,” and you have no idea which will give you the best laser engraving results. You are concerned that choosing the wrong one will lead to poor quality and wasted inventory.
This confusion can stall a project before it even starts. As a purchasing manager like my client John, you need predictability. You can't afford to order a thousand canvas bags only to find out they don't engrave well. The key is to test small samples first and understand the properties of each material. This knowledge empowers you to select the perfect canvas for your specific design goals, whether you want a rustic, charred look or a clean, modern etch.
For laser engraving, polyester-cotton (poly-cotton) blends often provide the best and most consistent results. The polyester content melts cleanly under the laser, creating a sharp, durable engraving, while the cotton adds a natural texture and feel. 100% cotton canvas also works well but produces a darker, charred effect that can be prone to flaking if over-burned. Heavily coated or waxed canvases should generally be avoided as the coatings can melt unevenly and produce harmful fumes.

Natural vs. Synthetic: A Deeper Look
Your choice of canvas type is the single most important decision you will make. It dictates the final look, feel, and durability of your engraving more than any machine setting.
100% Cotton Canvas (Duck Canvas)
- Reaction: Chars.
- Appearance: Creates a dark, rustic, almost "branded" look. The color is typically a rich dark brown.
- Pros: Achieves a very high-contrast mark, which is great for bold text and logos.
- Cons: The charred fibers can be brittle. If you use too much power, the design can feel rough and may flake off over time with washing or handling.
Poly-Cotton Blends (e.g., 65/35 Polyester/Cotton)
- Reaction: Melts and Chars.
- Appearance: A clean, recessed engraving. The color is often a few shades darker than the original canvas, but less intense than pure cotton.
- Pros: This is often the sweet spot. The melting polyester seals the edges of the design, preventing flaking and increasing durability. The engraving is smooth to the touch.
- Cons: The color contrast is lower than on pure cotton, which may not be ideal for every design.
100% Polyester Canvas
- Reaction: Melts.
- Appearance: Very clean, tonal engraving with a slight recessed depth. It almost looks like a subtle debossing.
- Pros: Extremely durable and clean. No char, no flakes. Excellent for fine details.
- Cons: The effect is very low-contrast and can be too subtle for some applications. It works best on light-colored canvas.
| Canvas Type | Primary Reaction | Engraved Look | Durability | Best For |
|---|---|---|---|---|
| 100% Cotton | Charring | Dark brown, textured | Moderate | Rustic logos, bold text |
| Poly-Cotton Blend | Melting & Charring | Clean, recessed, dark | High | All-purpose, detailed designs |
| 100% Polyester | Melting | Tonal, subtle, clean | Very High | Fine details, modern aesthetic |
| Waxed/Coated | Unpredictable | Messy, inconsistent | Low | Not Recommended |
What are the Best Applications for Laser Engraved Canvas?
You’ve figured out how to engrave canvas, but now you’re wondering where this skill can be most profitably applied. Is this just for hobbyists making custom tote bags, or are there serious commercial applications? You want to turn this capability into a revenue stream, not just a novelty.
Failing to identify the right market can mean your amazing new skill goes to waste. You might create beautiful products that no one wants to buy. By exploring the most popular and commercially viable applications, you can target your efforts effectively. From personalized gifts to branded corporate merchandise, laser-engraved canvas offers a unique value proposition that customers are actively looking for: customization, durability, and a premium, textured finish.
The most popular applications for laser-engraved canvas are in creating high-value custom goods. These include personalized tote bags and backpacks, custom-branded hats and aprons for businesses, unique decorative wall art, and customized shoes (like Converse or Vans). The technique is perfect for adding logos, intricate patterns, and text to products, offering a more permanent and premium alternative to printing for both individual and corporate clients.

Personalized Consumer Goods
This is the largest and most accessible market. The ability to add a name, a special date, or a unique design to a product instantly increases its perceived value.
- Bags and Totes: The number one application. Perfect for wedding favors, grocery bags, and everyday fashion accessories.
- Shoes: Engraving designs onto canvas shoes like Vans or Converse is hugely popular, creating one-of-a-kind footwear.
- Apparel: Patches, hats, and aprons can be easily customized for a premium look.
Corporate Branding and Merchandise
Businesses are always looking for unique ways to promote their brand. Printed logos on bags can fade or peel, but an engraved logo is permanent and looks far more high-end. I've helped many clients develop product lines for corporate giveaways, employee welcome kits, and retail merchandise using this very technique. A laser-engraved canvas notebook cover or dopp kit feels much more substantial than a printed one.
Art and Home Decor
Canvas is the traditional medium for painting, but it can also be a medium for engraving. Artists can create incredibly detailed grayscale images or intricate patterns on stretched canvas. These can be sold as standalone art pieces or used to create custom throw pillows, wall hangings, and other decorative items that have a unique tactile quality.
How Do You Set Up the Laser Engraving Process?
You've got your canvas, you know the theory, but now you're at the machine. The laser is ready, and the pressure is on. You know you need low power and high speed, but what's a good starting point? How do you focus the laser on a soft, flexible surface? One mistake and you could ruin the item you're trying to customize.
This is where theory meets reality, and it can be intimidating. The fear of that first burn—of hearing the sizzle and not knowing if it’s working correctly—can cause hesitation. The solution is a systematic, step-by-step approach. By focusing the laser correctly, securing your material, and running a simple power/speed test on a scrap piece first, you can remove all the guesswork and proceed with confidence, knowing your settings are optimized for a perfect result.
The laser engraving process for canvas begins with setting your focus to the top of the fabric's weave. Secure the canvas flat on the laser bed to prevent wrinkles. Next, run a material test grid on a scrap piece to find the sweet spot—start at a high speed (around 400-600 mm/s) and very low power (8-15%). Find the lowest power setting that produces the desired mark, whether it's a light char or a clean melt. This ensures you get a clean engraving without burning through the delicate fibers.

Step 1: Secure and Focus
Canvas is flexible. It must be held down completely flat to ensure the laser remains in focus across the entire design. Use magnets or tape to pull the material taut on your laser bed. Set your Z-height (focus) manually to the very top surface of the canvas. Using auto-focus can sometimes press down on the fabric, giving an inaccurate reading.
Step 2: The Material Test
Never engrave your final product without testing first. Take a small, hidden piece of the material (like the inside of a bag) or a scrap piece and run a test grid. This is a small file with a series of squares, each with a different power and speed setting. It will quickly show you how the material reacts at different energy levels. This five-minute test can save you from a costly mistake.
Step 3: Dialing in Your Settings
Based on your test, choose your final settings. Here are some good starting points for a 60-80W CO2 laser:
- Speed: Start high. 400-600 mm/s is a good range. Faster speed means less heat is applied to any single spot.
- Power: Start very low. For a poly-cotton blend, you might only need 10-14% power. For 100% cotton, you might start around 12-18%.
- DPI/Interval: Set your Dots Per Inch (DPI) or Line Interval. A lower DPI (around 250-300) is often better for canvas as it puts less heat into the material, preventing scorching between lines.
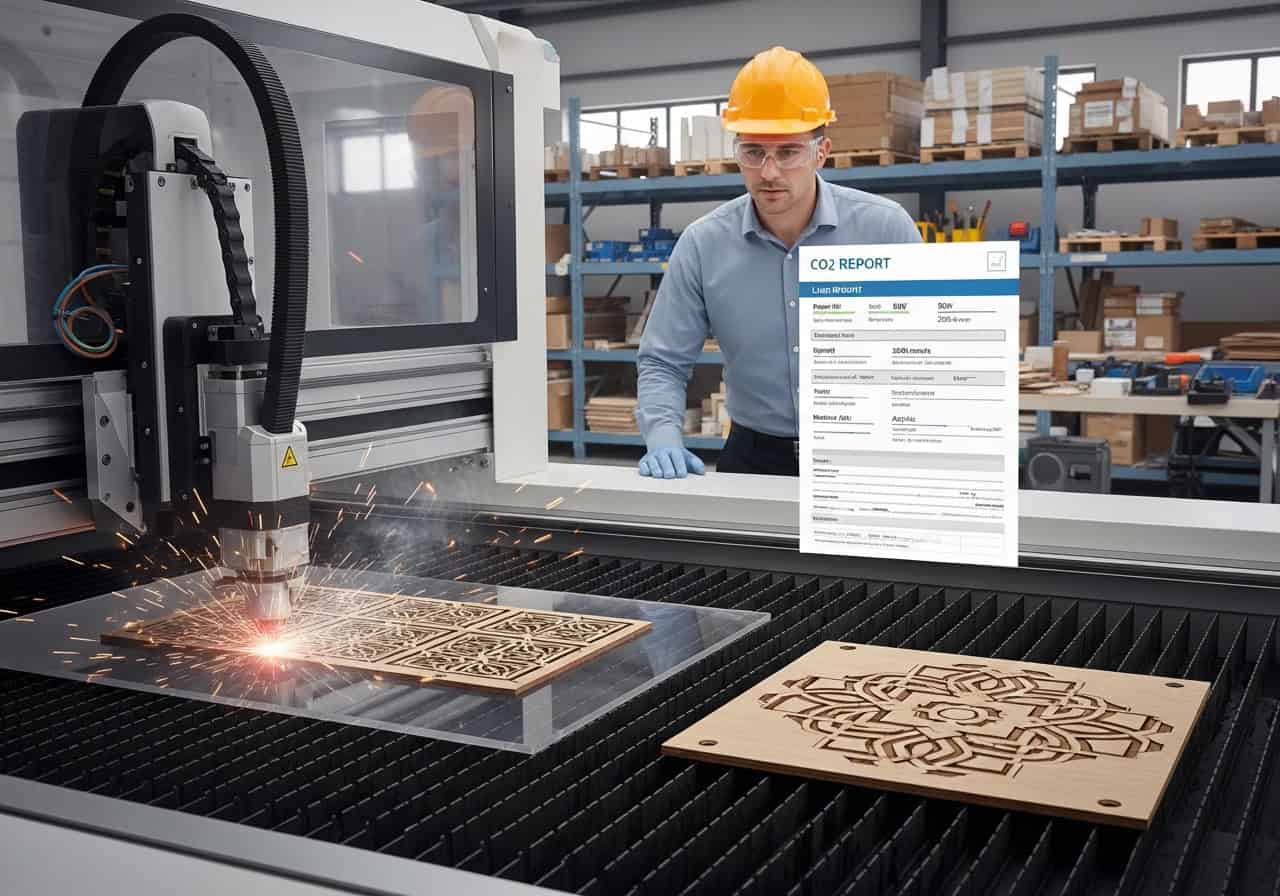
Step 4: Ventilation is Key
When you engrave canvas, especially synthetic or coated types, you are vaporizing material that can produce smoke and unpleasant odors. Ensure your fume extraction system1 is running at full power. Good ventilation2 is critical for both your safety and for preventing smoke from staining the canvas.
Conclusion
Engraving canvas with a CO2 laser is a fantastic way to create high-value, customized products, but success hinges on one core principle: understanding the material science. It’s not about finding a magic power and speed number; it’s about knowing whether you’re working with natural fibers that char or synthetic fibers that melt. Once you see the process as a controlled chemical reaction, you can confidently select the right type of canvas and dial in your settings for consistent, professional results. This knowledge transforms canvas from an unpredictable fabric into a reliable medium for your creativity and business.