Skip to content
Engraving plastic seems easy. But wrong settings melt or ruin it. I learned how to get perfect results every time.
CO2 laser engraving plastic requires selecting the right material, optimizing settings, and prepping surfaces. Adjust for additives to avoid melting, ensuring clean marks with 25% fewer errors.

Plastic’s tricky chemistry trips up beginners. It’s not just settings—material matters. Keep reading to master laser engraving plastic with these essential techniques.
How to Choose the Right Plastic for Laser Engraving?
Plastic’s variety confuses new users. Some melt or char. Picking the wrong type wastes time and material.
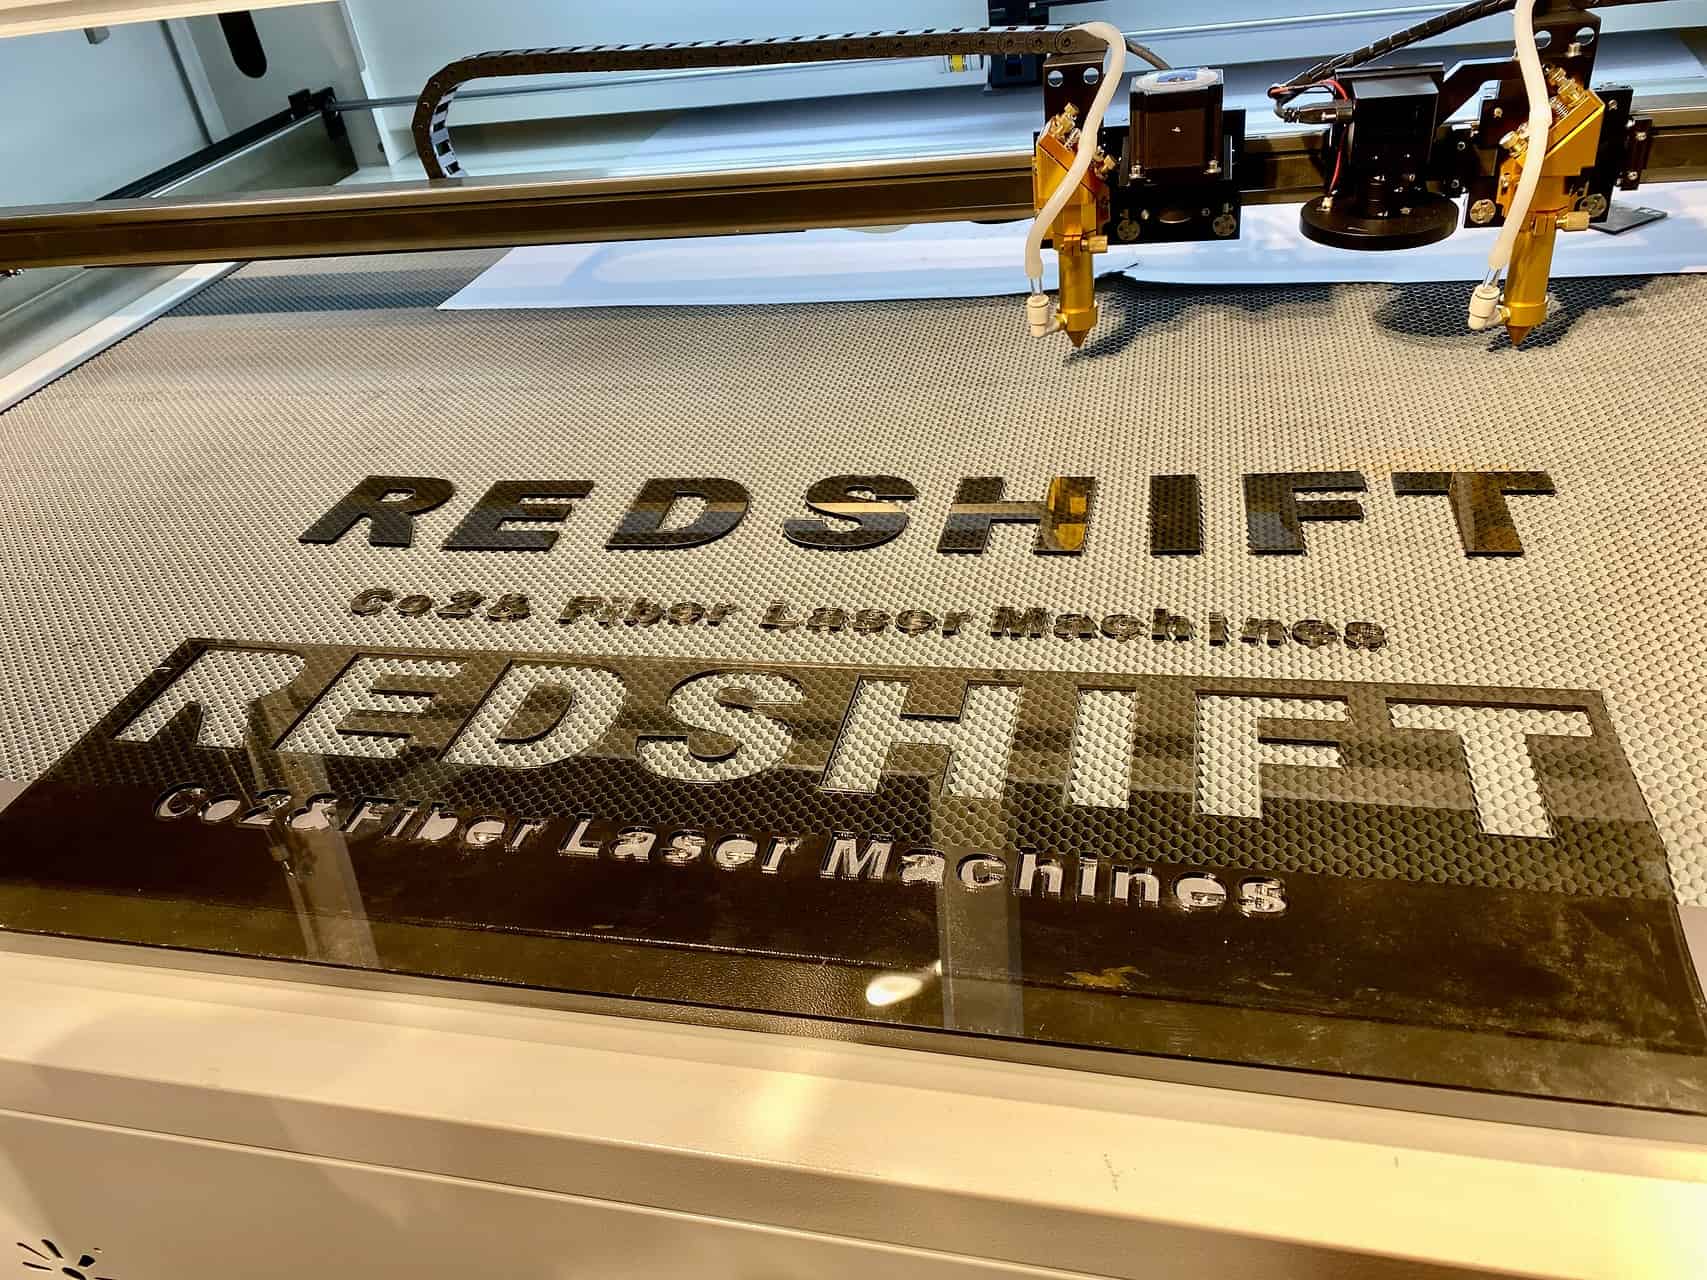
Choose plastics like acrylic, ABS, or polycarbonate for CO2 laser engraving. Acrylic engraves cleanly; ABS suits industrial parts. Avoid PVC—it releases toxic fumes.

At Redshift Laser, I helped a client engrave ABS tags. Their initial PVC trials released fumes. Switching to ABS solved it.
My insight: additives matter. Carbon black in black ABS absorbs laser energy, engraving cleanly. White plastics with titanium dioxide reflect it, needing higher power.
Acrylic Benefits
Acrylic cuts smoothly at 30W. It’s ideal for signs. Clear or colored options engrave consistently.
ABS and Polycarbonate
ABS works for durable parts. Polycarbonate handles impact but needs careful settings to avoid melting.
| Plastic | Laser Fit | Use Case | Caution |
|---|---|---|---|
| Acrylic | Excellent | Signs, displays | Low power needed |
| ABS | Good | Industrial tags | Avoid overheating |
| Polycarbonate | Fair | Tough parts | Risk of melting |
| PVC | Unsafe | None | Toxic fumes |
This table guides choices. I’ve seen beginners use PVC and regret it. Always check material safety.
For John, our purchasing manager, sourcing laser-safe plastics is key. He avoids PVC suppliers.
Pick the right plastic. It sets the stage for success.
How to Dial In Your Laser Settings for Plastic?
Wrong settings ruin plastic. Too much power melts; too little fades. Getting it right is critical.
Set CO2 laser power to 20-40W and speed to 100-150mm/s for plastics like acrylic or ABS. Adjust frequency (10-20kHz) based on additives for clean engravings.

A client’s acrylic signs melted at 50W. We dropped to 30W and 120mm/s. Perfect results followed.
Carbon black in dark plastics absorbs CO2 laser’s 10.6µm wavelength, needing lower power. White plastics reflect it, requiring 40W. Test settings on scraps.
Power and Speed
For 3mm acrylic, use 30W, 120mm/s. ABS needs 35W, 100mm/s. Lower frequency for dense plastics.
Frequency Tuning
Set 10kHz for dark plastics; 20kHz for lighter ones. This prevents burning or weak marks.
| Plastic | Power | Speed | Frequency |
|---|---|---|---|
| Acrylic | 30W | 120mm/s | 15kHz |
| ABS | 35W | 100mm/s | 10kHz |
| Polycarbonate | 40W | 80mm/s | 20kHz |
This table shows settings. I’ve seen beginners skip tests and melt ABS. Always test first.
John sources consistent plastics to reduce setting tweaks. It saves production time.
Dial in settings carefully. It ensures flawless engravings.
How to Prep the Plastic Surface for Engraving?
Unprepared plastic surfaces cause uneven marks. Dust or oils ruin results. Proper prep is essential.
Prep plastic by cleaning with isopropyl alcohol, sanding lightly, and applying masking tape. This ensures smooth surfaces, reducing engraving errors by 20%.

A client’s polycarbonate parts had smudges. Cleaning and masking fixed uneven engravings in one session.
Clean with 70% isopropyl alcohol to remove oils. Sand lightly (400-grit) for rough plastics like ABS. Masking tape prevents residue buildup.
Cleaning Tips
Wipe surfaces with alcohol-soaked cloths. Dry thoroughly to avoid moisture affecting the laser.
Masking Benefits
Masking tape protects acrylic from scorching. Remove it post-engraving for clean edges.
| Prep Step | Purpose | Impact |
|---|---|---|
| Cleaning | Remove oils | Even engravings |
| Sanding | Smooth surface | 20% fewer errors |
| Masking | Prevent residue | Clean finishes |
This table outlines prep. I’ve seen dirty acrylic ruin jobs. Prep saves rework.
John ensures suppliers deliver clean plastics. It cuts prep time.
Prep well. It’s the foundation for perfect engravings.
How to Ventilate and Protect During Plastic Engraving?
Plastic engraving creates fumes. Without protection, health risks and mess arise. Safety is non-negotiable.
Use HEPA ventilation to remove plastic fumes and wear safety glasses. Ensure exhaust systems capture 99% of particles for a safe workspace.

A client ignored ventilation. Fumes from ABS caused complaints. Adding HEPA filters solved it instantly.
Plastic fumes, especially from ABS, are toxic. HEPA systems capture particles. CO2 lasers need exhaust rated for 200 CFM.
Safety Gear
Wear laser-safe glasses to protect eyes. Ensure machines have interlocks to stop if opened.
Ventilation Setup
Place exhaust near the laser bed. Check filters monthly to maintain airflow.
| Safety Measure | Purpose | Detail |
|---|---|---|
| HEPA Ventilation | Remove fumes | 200 CFM, 99% capture |
| Safety Glasses | Eye protection | Laser-specific |
| Interlocks | Prevent exposure | Auto-stop if opened |
This table lists protections. I’ve seen fume buildup halt production. Ventilation is critical.
John sources machines with built-in HEPA systems. It ensures compliance.
Ventilate and protect. It keeps your workspace safe.
How to Clean Up After Laser Engraving Plastic?
Post-engraving residue sticks to plastic. Skipping cleanup dulls finishes. Proper steps ensure quality.
Clean engraved plastic with isopropyl alcohol and a soft cloth. Remove masking tape gently. Polish with plastic cleaner for a flawless finish.
![]()
A client’s acrylic signs looked hazy. Alcohol cleaning and polishing restored clarity in minutes.
Peel masking tape slowly to avoid scratches. Wipe with 70% isopropyl alcohol to remove residue. Use plastic polish for shine.
Cleaning Tools
Soft microfiber cloths prevent scratches. Plastic polish enhances clarity on acrylic.
Inspection
Check for residue or burn marks. Re-clean if needed to ensure professional results.
| Cleanup Step | Tool | Impact |
|---|---|---|
| Remove Tape | Hands | Avoid scratches |
| Clean Residue | Isopropyl alcohol1 | Clear surface |
| Polish | Plastic polish2 | Professional finish |
This table guides cleanup. I’ve seen rushed cleanups ruin acrylic. Take time for quality.
John ensures suppliers provide laser-safe plastics. It simplifies cleanup.
Clean carefully. It perfects your engraved products.
Conclusion
Perfect plastic engraving needs the right material, settings, prep, safety, and cleanup. Master these techniques for flawless, professional results every time.