Skip to content
Struggling with inconsistent hot stamping or expensive dies for your leather products? Traditional methods lack detail and make small-batch customization costly, limiting your brand's agility and creative potential.
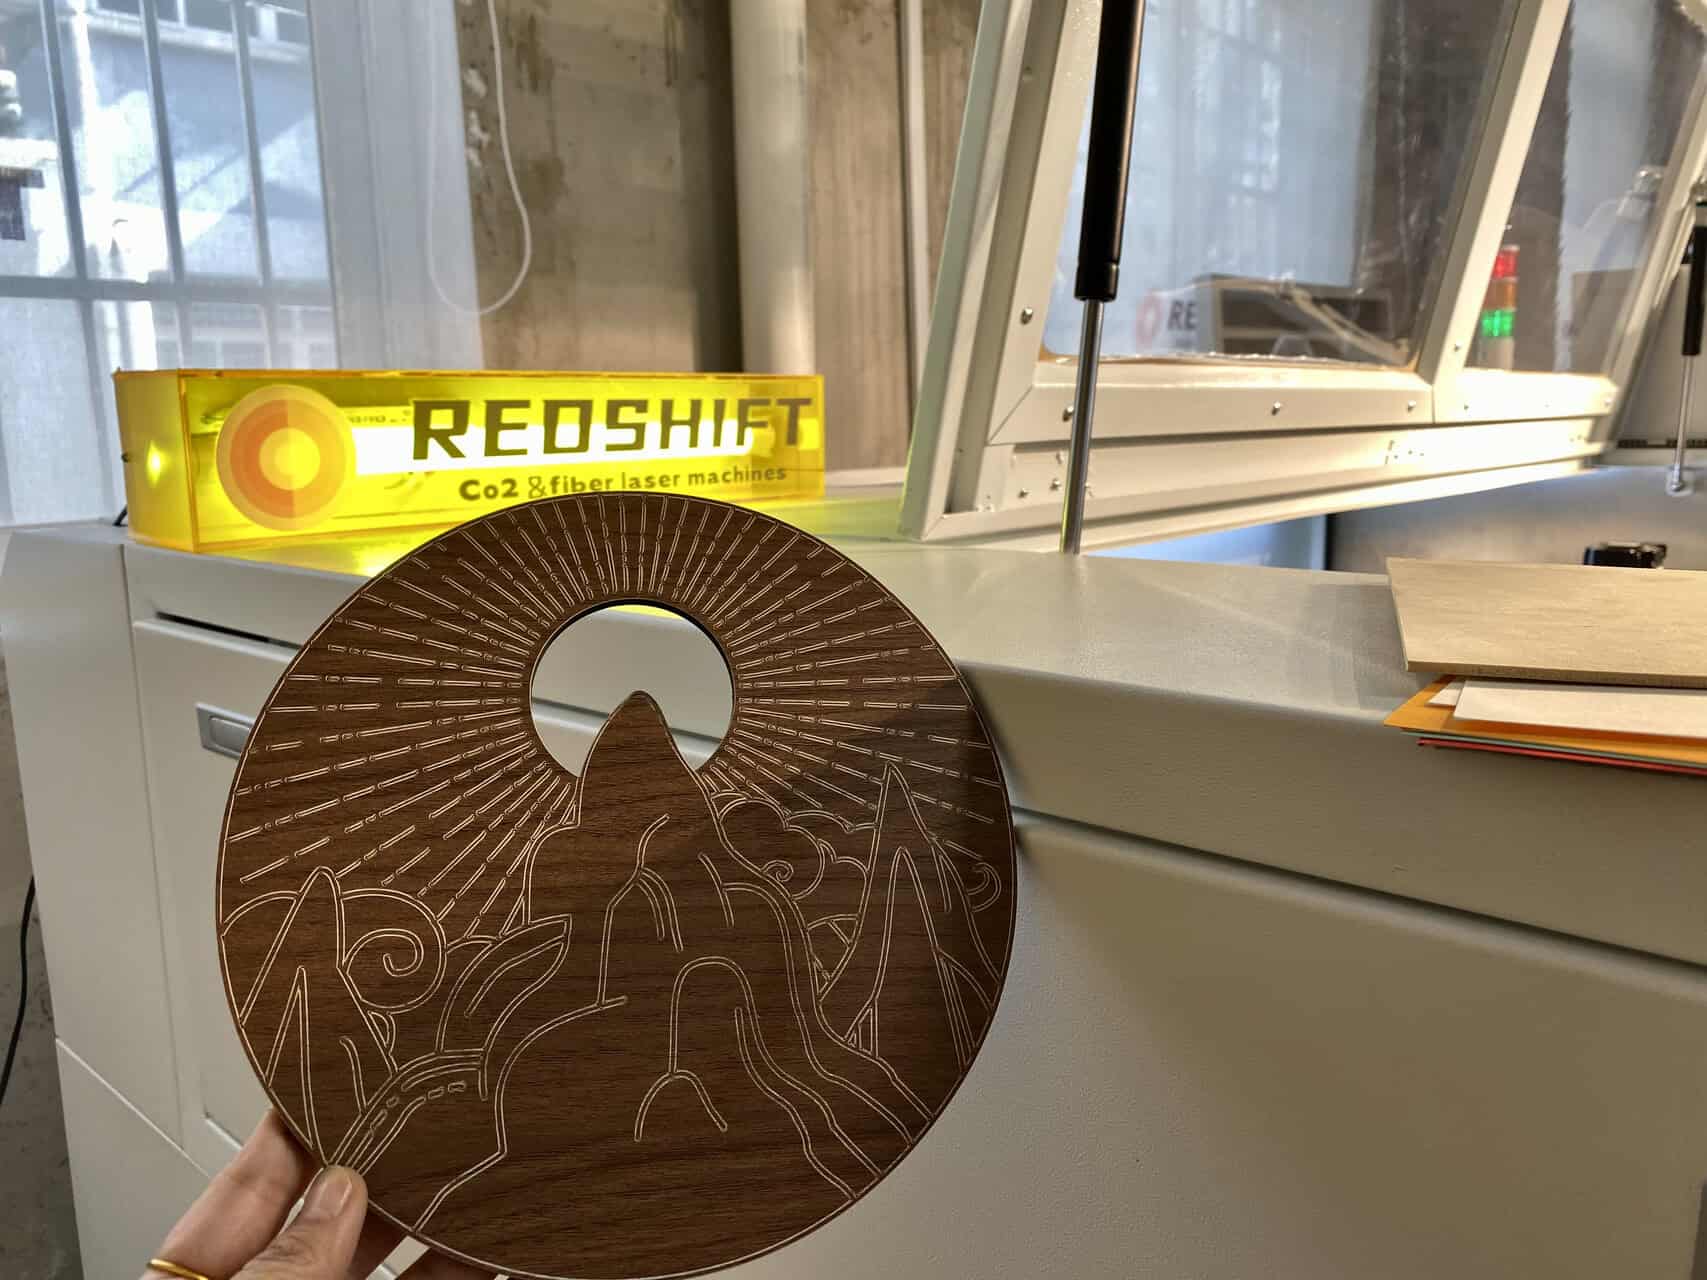
CO₂ lasers enable custom logo production by using a focused light beam to precisely engrave detailed graphics onto leather. This digital, non-contact process offers unmatched speed, repeatability, and design flexibility without needing physical tools.

In the textile world, I've learned that natural materials have their own personalities. A roll of cotton from one farm behaves differently than another. Leather is no different. I've seen beautifully engraved leather goods where the logo is crisp and rich, and I've seen expensive products ruined by a logo that was either a faint whisper or a charred mess. The difference isn't just the machine; it's the operator's understanding of the material. Getting that perfect, premium result requires more than just pressing a button; it requires knowing how to adapt the technology to the unique character of each piece of leather.
What’s the Best CO₂ Laser Setting for High-Contrast Logo Engraving on Leather?
Tired of getting faint, low-contrast logos on your expensive leather items? Guessing the laser settings can lead to wasted materials and inconsistent branding that fails to make an impact.
There is no single "best" setting. The ideal balance is typically found using low power (15-30%) and high speed (300-500 mm/s) as a starting point, then adjusting based on the leather’s specific type, color, and finish.

Leather is a natural product, and its reaction to a laser is never uniform. Factors like the tanning process (vegetable vs. chrome), oil content, dye color, and any surface coatings dramatically change how the material absorbs the laser's energy. A setting that creates a beautiful dark mark on light veg-tan leather might just disappear on dark, oily chrome-tanned leather. A purchasing manager like Matt needs suppliers who understand this variability. The correct approach is to establish a baseline and then fine-tune. The following table provides starting points, but always remember they are not final—they are the beginning of a quick dialing-in process that a professional supplier must perform.
Parameter Starting Guide for Leather Engraving
| Leather Type | Power (40W Laser) | Speed (mm/s) | Key Considerations & Risks |
|---|---|---|---|
| Light Veg-Tanned | 15-20% | 400-500 | Provides excellent contrast. Risk of charring if power is too high. |
| Dark Oiled Leather | 20-30% | 300-400 | Creates a subtle, debossed effect. High contrast is difficult. |
| Suede / Nubuck | 10-15% | 400-500 | Engraves by darkening the fibers; very low power is needed to avoid melting. |
| Coated/Finished | 15-25% | 350-450 | The goal is to ablate the top coat only. Power must be precise to avoid damaging the leather underneath. |
How Do You Make Laser Engraving Darker on Leather?
Is your engraved logo coming out too light and subtle, failing to pop? A faint brand mark can look unprofessional and get lost on the final product, defeating the purpose of customization.
To make a laser engraving darker, you can systematically decrease the speed, slightly increase the power, or lower the DPI (Dots Per Inch). The most common and controlled method is reducing the speed to increase the beam's exposure time.

Getting that deep, dark, branded look depends on managing the energy density the laser puts into the leather. Think of it like toasting bread. A quick pass with low heat gives you light toast; a slower pass gives you dark toast. It's the same principle here. We have several levers to pull to achieve this effect, and a skilled operator knows which one to use for a given situation. Slowing down the laser is often the most stable method, but adjusting power or even the resolution of the engraving can also have a dramatic impact. The key is to make one adjustment at a time to isolate the variable and see its effect. Below is a breakdown of the primary methods.
Comparison of Techniques to Darken Engraving
| Technique | How It Works | Pros | Cons / Risks |
|---|---|---|---|
| Decrease Speed1 | Increases the laser beam's "dwell time2" on the material. | Offers fine control; produces very consistent results. | Can increase charring if too slow; significantly increases job time. |
| Increase Power | Delivers more energy with each laser pulse. | Quickest way to see a darker effect. | High risk of burning, charring, and cutting too deep. Less fine control. |
| Decrease DPI/PPI | Creates more space between engraved lines, "toasting" them more. | Can create a nice texture and reduce job time. | May result in a less-detailed, "striped" appearance if set too low. |
| Defocus Laser | Widens the beam, reducing intensity but increasing "branding" effect. | Creates a smoother, less sharp mark without deep gouging. | Reduces fine detail precision; requires careful height adjustment. |
How Do You Prevent Burn Marks When CO₂ Laser Cutting Leather?
Trying to cut leather shapes but ending up with charred, sooty edges? These burn marks ruin the look of the final product and can require extensive, time-consuming cleanup and lead to rejections.
To prevent burn marks, use a powerful air assist feature that blows compressed air directly at the cutting point. Additionally, using a vented honeycomb bed and setting the laser to lower power with multiple passes is crucial.

The charring you see on laser-cut leather comes from flare-ups and residual heat. When the laser vaporizes the leather, the fumes and tiny particles can ignite, creating soot that stains the edges. As a manufacturer, delivering a clean-edged product is non-negotiable. The best defense is a multi-pronged strategy. A strong "air assist" acts like a tiny fire extinguisher, putting out flare-ups instantly. A proper cutting bed allows smoke to escape from below, preventing flashback burns. Finally, a patient cutting strategy with multiple, faster passes is better than one slow, powerful pass. This professional approach ensures a clean, marketable product.
| Prevention Method | Primary Function | Implementation Details | Effectiveness Level |
|---|---|---|---|
| Air Assist3 | Extinguishes flare-ups and clears debris/smoke from the cut. | Use a high-pressure compressor4 (not just an aquarium pump) directed at the nozzle. | Very High |
| Honeycomb Bed5 | Allows heat and smoke to vent downwards, away from the material. | Place the leather on a proper laser-cutting bed6. Ensure the exhaust fan is running. | High |
| Multiple Passes | Reduces heat buildup by using lower power for each pass. | Instead of 100% power, try 2-3 passes at 40-50% power & higher speed. | High |
| Masking | Protects the top surface of the leather from smoke staining. | Apply low-tack transfer tape over the leather before cutting or engraving. | Medium to High |
Why Is Test Engraving Crucial Before Custom Logo Laser Marking on Leather?
You have an urgent bulk order and are tempted to skip testing to save time. This can be a huge mistake, potentially ruining hundreds of expensive leather items and causing massive delays.
Testing is crucial because leather is a natural material with extreme variations in composition. A small test grid is the only way to reliably find the perfect settings that ensure brand consistency and avoid wasting valuable material on a full production run.

In my textile business, "measure twice, cut once" is a rule that saves more money and time than any shortcut. With leather, the rule is "test always, engrave once." A purchasing manager like Matt would never approve a bulk sock order without seeing a final, approved sample. The same rigor must apply here. The settings that worked perfectly on last week's hide might create a charred mess on this week's batch. A professional supplier must have a standard operating procedure for testing. It’s not just a random burn; it is a systematic process to map the material's reaction to the laser. This simple protocol is the ultimate insurance policy against costly errors.
Protocol for Systematic Leather Test Engraving
| Step # | Action | Purpose | Key Observation Area |
|---|---|---|---|
| 1 | Material Inspection | Identify the leather type, finish, and thickness. | Is it coated, oily, dry, light, dark? |
| 2 | Establish Baseline | Run a test file with a wide range of power and speed settings. | Find the general area where a mark first appears. |
| 3 | Create a Power/Speed Matrix | Engrave a grid of small squares or logos with incremental settings. | Note the point of charring vs. clean, dark engraving. |
| 4 | Test for Final Design | Engrave the actual logo at the 2-3 best settings from the matrix. | Check for fine detail clarity, depth, and contrast. |
| 5 | Document and Approve | Record the final approved settings for the specific leather batch. | Ensures repeatability for the entire production run. |
Conclusion
CO₂ lasers offer incredible precision for custom leather logos, but success depends on a systematic, test-driven process. By meticulously calibrating settings for each unique batch, you ensure consistent, high-quality results that elevate your brand.
Related:
-
Understanding the impact of speed on laser cutting can help optimize your projects for better results. ↩
-
Exploring dwell time will provide insights into achieving precision and consistency in laser cutting. ↩
-
Explore this link to understand how Air Assist enhances cutting efficiency and safety. ↩
-
Learn why using a high-pressure compressor is crucial for optimal cutting performance and results. ↩
-
Explore this link to understand how a Honeycomb Bed enhances laser cutting efficiency and safety. ↩
-
Discover the advantages of a laser-cutting bed for precision and material handling in your projects. ↩