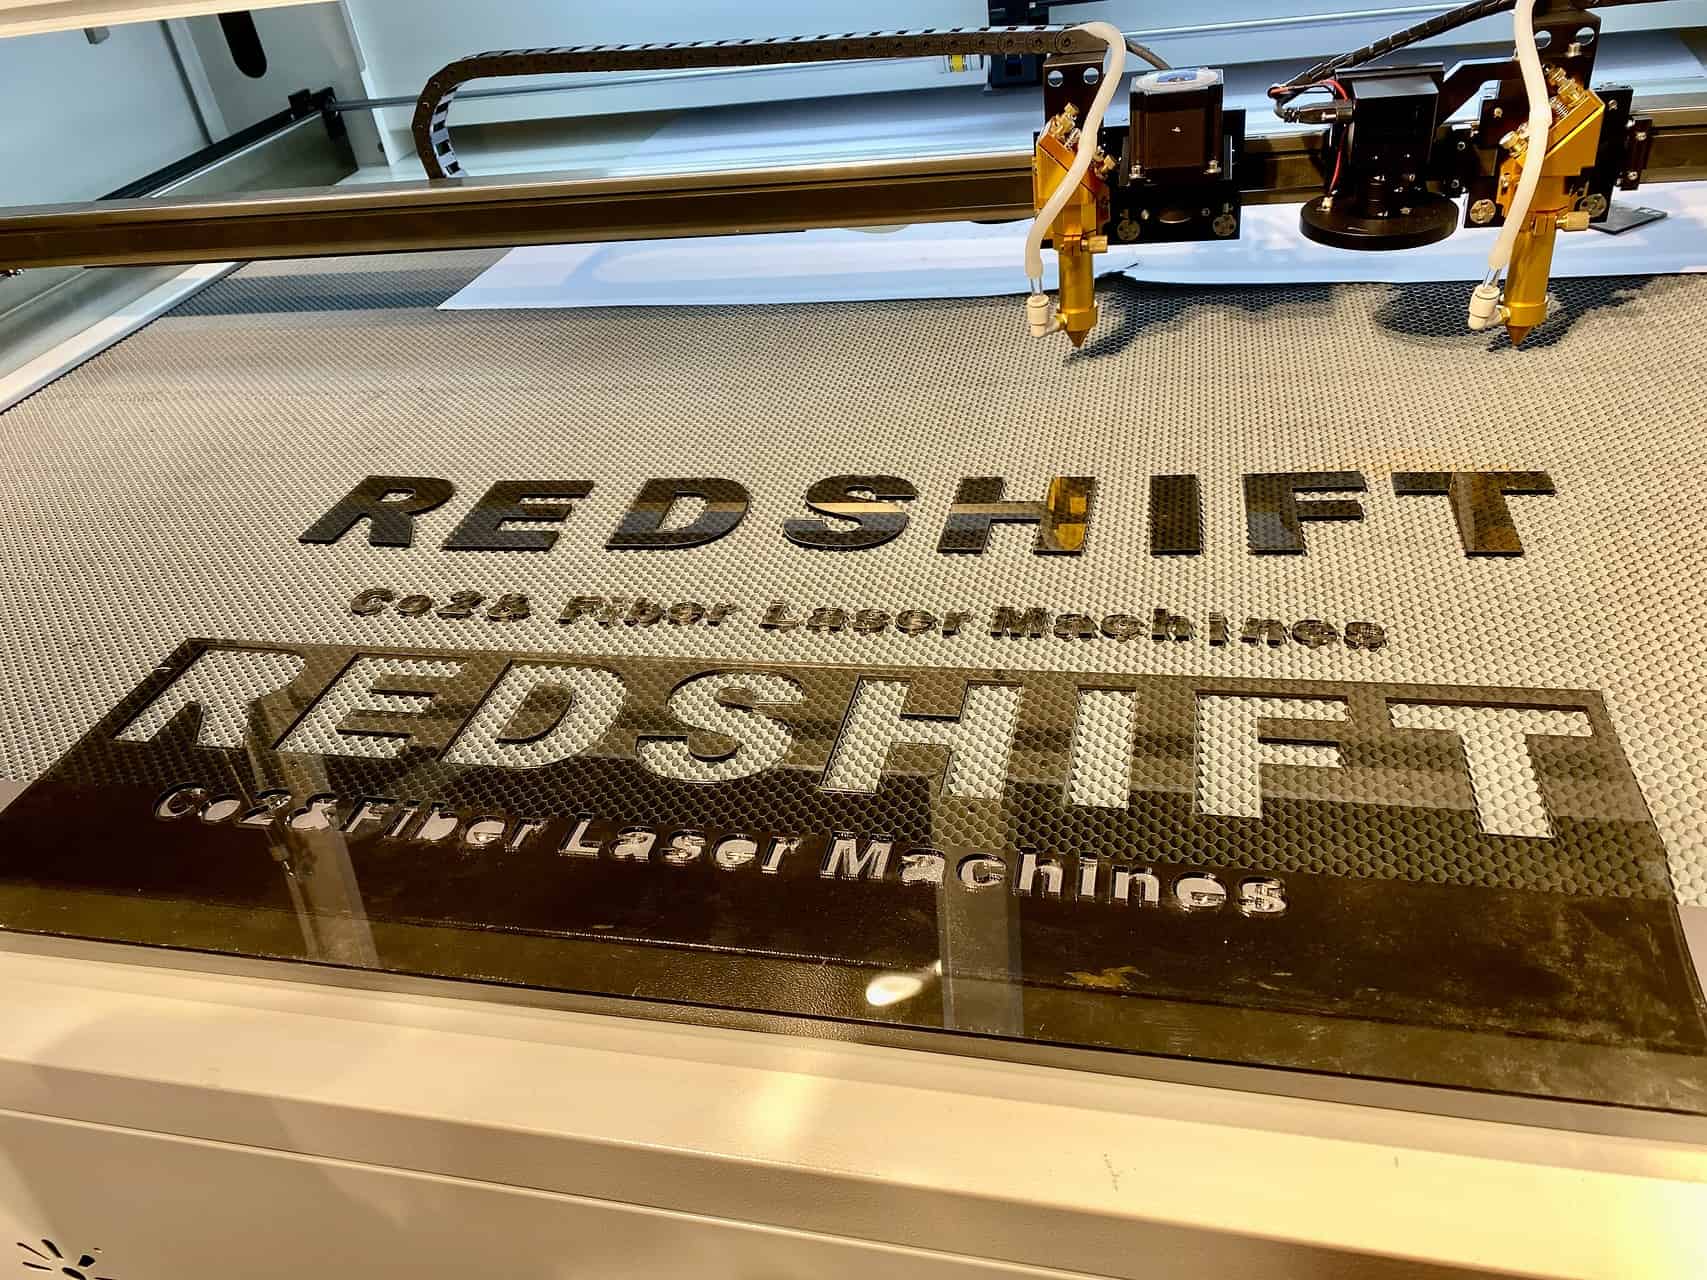
Skip to content
You just received a vector file from a client for a rush job. It's a DXF, the standard format your laser software recommends, so you load it up and hit "start." But instead of a smooth, swift cut, the laser head jitters and moves incredibly slowly. The machine sounds like it's struggling, and the final cut edge is jagged and rough. You've wasted expensive material and valuable production time, and you're not sure why. The file format was correct, so what went wrong?
The most critical factor for a successful laser cutting project is not the file extension (like .dxf or .svg), but the 'geometric hygiene' within the file itself. A clean file with minimal, precise nodes and smooth curves allows the laser to operate at optimal speed and accuracy. Conversely, a geometrically messy file, often created by automated "image trace" tools, contains thousands of unnecessary nodes that slow down the machine and produce a low-quality, jagged cut, regardless of the file format.

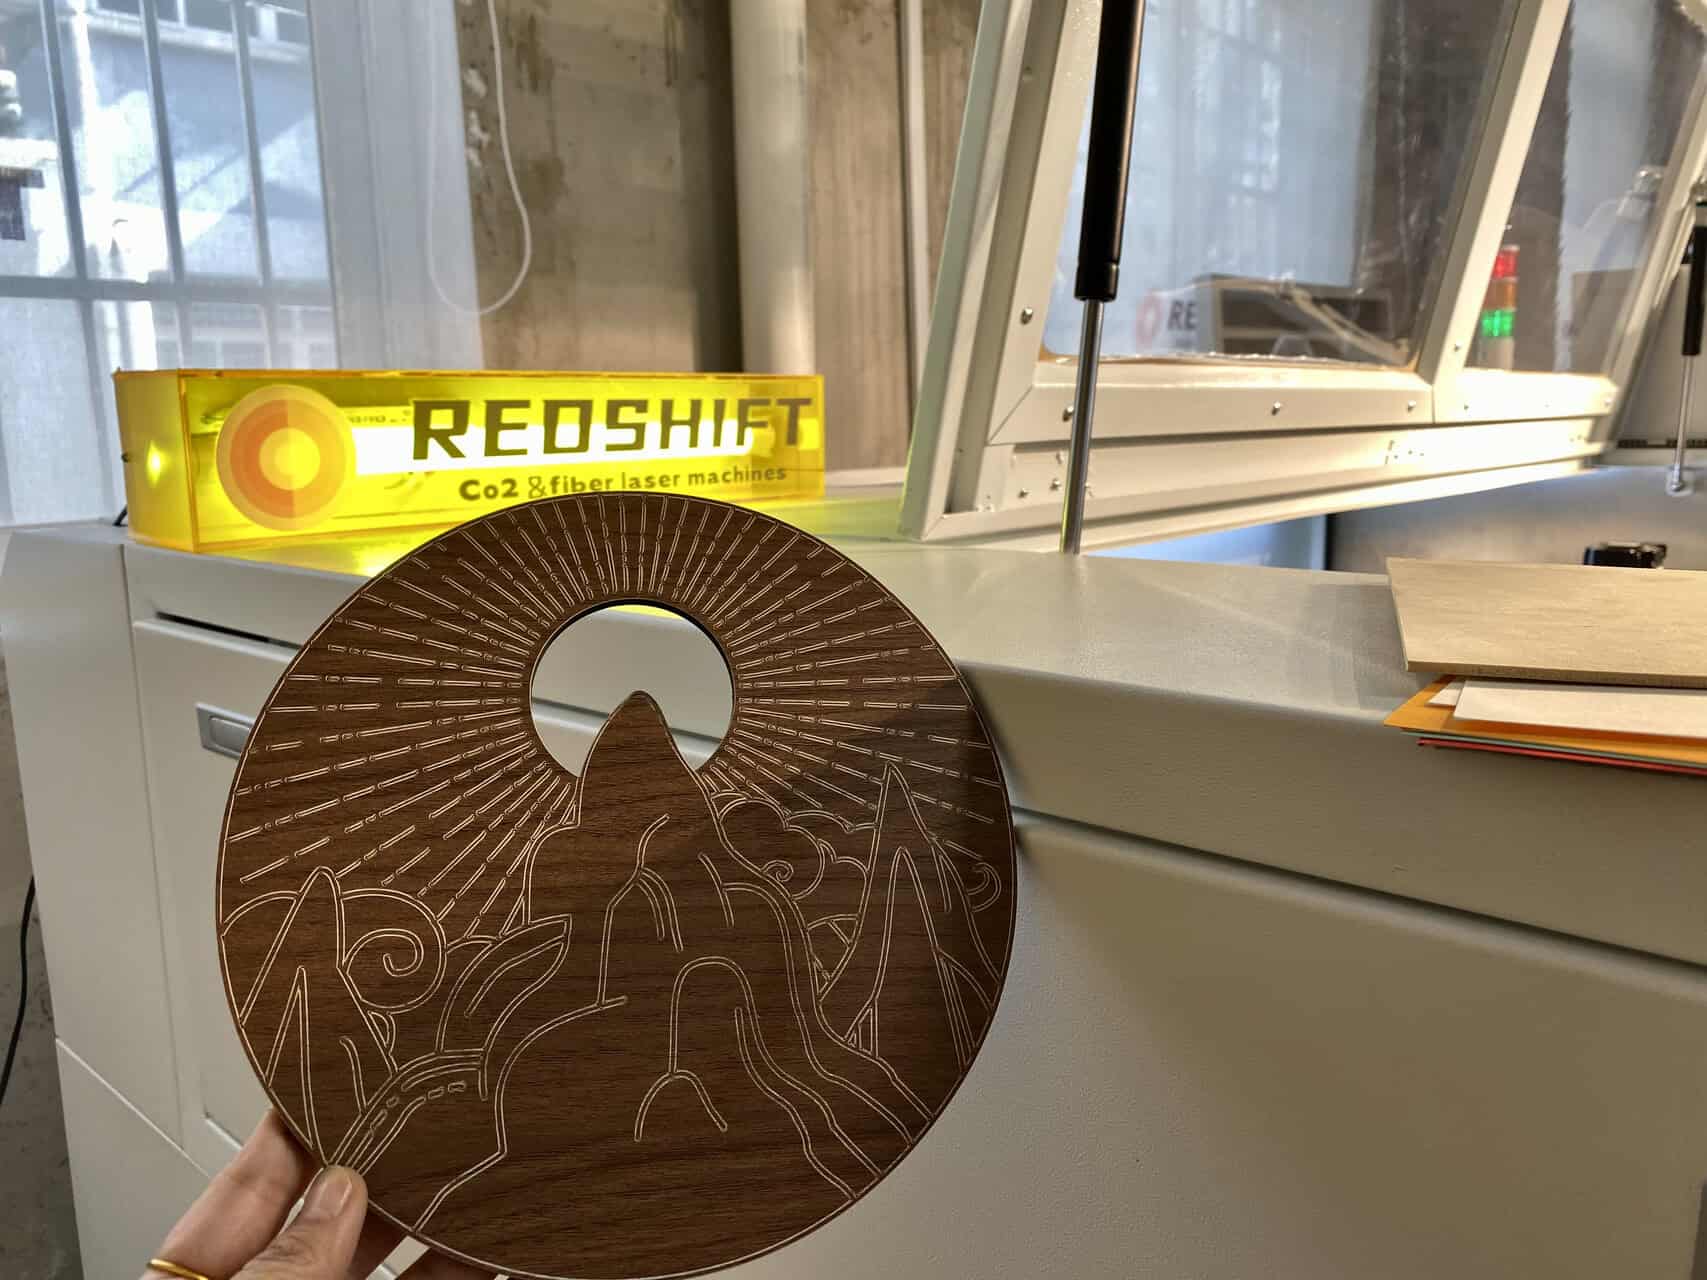
I'll never forget a client who invested in a top-of-the-line CO2 laser from us. A week later, he called me, frustrated. "August," he said, "this machine is so slow. It's taking ten minutes to cut a simple logo that should take thirty seconds." I asked him to send me the file. As soon as I opened it, I saw the problem. He had used an online converter to turn his company's JPG logo into an SVG. While it looked like a clean vector, zooming in revealed thousands of tiny, jagged points. The laser was trying to follow every single one of them. We spent an hour manually redrawing it with clean geometry. The next day, he called back, ecstatic. The cut took 28 seconds. The problem was never the machine or the file format; it was the hidden mess inside the file.
What’s the Real Difference Between Vector and Raster Files?
You're constantly dealing with files from different departments—a JPG from marketing, a PNG from the web team, and a DXF from engineering. You know some are for printing and some are for cutting, but the technical distinction can feel fuzzy. This ambiguity becomes a real problem when you send a file to the laser and get a completely unexpected result, wasting time and materials.
The fundamental issue is sending the wrong type of information to the machine. A laser cutter needs a map—a set of directions—to follow for cutting. A raster image is like a photograph of the map; it shows you what the destination looks like, but doesn't give you the step-by-step path. Trying to cut from a raster file is a common mistake that leads directly to production errors.
A vector file is the essential format for laser cutting because it contains mathematical paths, or "vectors," that tell the laser head precisely where to move. In contrast, a raster file (like a JPG or PNG) is made of a grid of colored pixels. Raster files are only suitable for laser engraving, where the laser etches the image pixel by pixel, but they cannot be used for clean, continuous cuts.

Understanding Vector Files (For Cutting and Scoring)
Think of a vector file as a connect-the-dots puzzle for your laser. It's not an image; it's a set of instructions.
- Definition: A vector file is composed of points (nodes) connected by lines and curves (paths) defined by mathematical equations.
- Key Feature: It is infinitely scalable. You can resize a vector logo to fit on a business card or a billboard, and it will never lose quality or become blurry. The mathematical paths simply adjust.
- Common Formats: DXF, SVG, AI, CDR, PDF (if it contains vector data).
Understanding Raster Files (For Engraving Only)
Think of a raster file as a piece of graph paper where every square is filled with a different color.
- Definition: A raster file (or bitmap) is a grid of individual pixels. The image is defined by the color and position of each pixel.
- Key Feature: It is resolution-dependent. If you try to enlarge a low-resolution raster image, it will become pixelated and blurry because you are just making the individual squares bigger.
- Common Formats: JPG, PNG, GIF, BMP, TIFF.
Why a Laser Needs Vectors to Cut
Your CO2 laser controller reads a vector file and translates its paths into X and Y coordinates for the motion system. It follows the line from node to node to guide the cutting beam. A raster file has no paths to follow. The laser software can only interpret it as a grid of dots to be filled in, which is the process of engraving.
| Attribute | Vector File | Raster File |
|---|---|---|
| Composition | Mathematical Paths & Nodes | Grid of Pixels |
| Primary Use | Cutting, Scoring, Vector Engraving | Photo Engraving |
| Scalability | Infinitely Scalable (No Quality Loss) | Resolution Dependent (Gets Pixelated) |
| Common Formats | DXF, SVG, AI, PDF | JPG, PNG, BMP, TIFF |
Which Vector Format Should You Actually Use?
You know you need a vector file, but now you're faced with a choice: DXF, AI, SVG, or maybe even a PDF? Your design team sends you AI files, your engineer insists on DXF, and a web-based client sent an SVG. This format confusion can become a bottleneck, causing delays as you try to convert files or troubleshoot compatibility issues with your laser software.
Choosing the wrong format, or one that isn't fully compatible with your machine's software, can lead to lost data. Complex curves might be converted into straight lines, fill colors might disappear, or the scale might be wrong. Focusing on a reliable workflow with one or two primary formats is key to maintaining production consistency. It's about finding the most stable bridge between your design software and your laser cutter.
For maximum compatibility across different laser cutting software, DXF is the universal standard and the safest choice. It contains the essential vector path information needed for cutting. However, formats like AI and SVG are often superior for design workflows, as they preserve more complex data like colors for different power settings (e.g., red for cut, blue for score). The best choice depends on balancing universal compatibility with design complexity.

DXF: The Universal Language
DXF (Drawing Exchange Format) was created by Autodesk for AutoCAD. It's the oldest and most widely supported format.
- Pros: Nearly every CAD and laser control software in the world can open a DXF file. It’s the gold standard for compatibility.
- Cons: It's a "lowest common denominator" format. It primarily stores basic geometry (lines, arcs) and often strips out more complex information like fill colors, line weights, or layers that you might use in your design software.
AI & CDR: The Design Software Natives
These are the native file formats for Adobe Illustrator (AI) and CorelDRAW (CDR), two of the most popular programs for creating laser-cut designs.
- Pros: They preserve all your design information perfectly, including layers, colors, and effects. This allows for a very organized workflow, such as putting cut lines on a red layer and score lines on a blue layer.
- Cons: Compatibility can be an issue. Your laser software might require a specific, older version of the AI file (e.g., Illustrator 8) to import it correctly.
SVG: The Modern Web Standard
SVG (Scalable Vector Graphics) is an open standard that is popular for web graphics but has been widely adopted for laser cutting.
- Pros: It's an XML-based format, making it very versatile. It maintains color information and layers well, similar to AI files, and is the native format for popular free software like Inkscape.
- Cons: Support can be inconsistent. Some laser software imports SVGs flawlessly, while others may misinterpret scaling or certain path types.
| Format | Best For | Compatibility | Data Preservation |
|---|---|---|---|
| DXF | Universal compatibility, engineering drawings | Excellent | Basic (geometry only) |
| AI | Complex designs made in Adobe Illustrator | Good (version dependent) | Excellent |
| SVG | Web-based workflows, open-source software | Good (can be inconsistent) | Very Good |
| Sharing proofs (if saved with vector data) | Good (must be vector) | Varies |
How Do You Ensure a Clean Laser Cutting File?
You’ve selected the right vector format, but as we’ve established, that doesn’t guarantee a good result. Your operator still reports that some files cut perfectly while others cause the machine to stutter and produce poor-quality parts. This inconsistency is frustrating and eats into your profit margins through wasted material and time.
The root of the problem lies in the creation process of the vector file itself. Many designers who are not familiar with laser cutting will use automated tools or create designs without considering the physical limitations of the machine. The result is a "dirty" file that is technically a vector but is functionally unusable. This is where most production failures begin.
To ensure a clean laser cutting file, you must avoid automated "image trace" functions and instead focus on manual creation with minimal nodes. Key steps include converting all text to paths, outlining all strokes, removing any overlapping lines or duplicate paths, and joining open segments into closed shapes. A thorough check of the file in "outline mode" is essential to spot and fix these hidden geometric issues before sending the file to the laser.

The Cardinal Sin: Automated Image Trace
This is the number one cause of bad vector files. A designer takes a raster logo (JPG/PNG) and uses a one-click "Image Trace" or "Live Trace" feature.
- The Problem: The software tries to outline every pixelated imperfection, creating a vector with thousands of unnecessary nodes, jagged edges, and overlapping shapes.
- The Solution: Always have designs manually traced or, better yet, created natively as vectors from the start.
The Pre-Cut Checklist
Before exporting your file, go through these steps in your design software (like Adobe Illustrator or Inkscape):
- Convert Text to Paths: The laser cutter cannot read font files. You must convert all text into vector shapes (in Illustrator:
Type > Create Outlines). - Outline All Strokes: A line in your design program might have a thickness (stroke). The laser needs to know whether to cut the center, inside, or outside of that line. Outlining the stroke converts it into a closed shape with a clear cutting path.
- Unite Overlapping Shapes: If you have multiple shapes that overlap, use a "Unite" or "Weld" function to merge them into a single, continuous outer path. This prevents the laser from cutting the same line twice.
- Find and Join Open Paths: A cut path must be a closed loop. Use a "Join" command to connect any start and end points that are not properly closed. A common sign of an open path is a cut that doesn't go all the way through the material.
How to Fix Common Problems in Laser Cutting Files?
Even with a good process, problematic files will inevitably land on your desk, especially from new clients. Your machine operator is spending too much time trying to fix these files, which is not their primary job. You need a simple troubleshooting guide to quickly identify and solve the most frequent issues.
Ignoring these file problems leads to a reactive workflow. You only discover an issue after a part has been cut incorrectly, wasting a full cycle and an expensive piece of acrylic or wood. A proactive approach involves spotting these common errors and fixing them in seconds, ensuring the file sent to the laser is perfect the first time.
Common file problems like duplicate lines, unclosed shapes, and incorrect scaling can be quickly diagnosed and solved. Use your software's "outline mode" to identify stacked paths and delete duplicates. Employ a "join" command to close open loops that prevent complete cuts. Lastly, always confirm the file's units (e.g., mm vs. inches) and draw a reference box of a known size (e.g., 1x1 inch) to verify scale upon import into the laser software.

Problem 1: The Laser Cuts the Same Line Twice
This is a classic symptom of stacked or duplicate paths. It slows down the job, creates a wider kerf (cut width), and puts excessive heat into the material, causing more noticeable burn marks.
- Diagnosis: In your design software, select a line and delete it. If another identical line is visible underneath, you have found a duplicate. A faster way is to view the file in outline or wireframe mode, which makes stacked lines appear slightly thicker.
- Solution: Manually select and delete the extra paths. Some advanced programs have a "delete duplicates" command.
Problem 2: The Part Doesn't Cut All the Way Out
The laser completes its path, but the shape remains attached to the main sheet of material by a tiny, uncut section.
- Diagnosis: This is almost always caused by an open path—a small gap between the start and end nodes of a shape. Zoom in very closely on the area that didn't cut. You will likely see that the two endpoints are not connected.
- Solution: Select the two open nodes and use your software's "Join" or "Close Path" command to connect them and form a closed shape.
Problem 3: The Cut Part is the Wrong Size
The file looked correct on screen, but the final physical part is either twice as big or incredibly tiny.
- Diagnosis: This is a unit or scaling mismatch between the design software and the laser control software. The design might have been created in millimeters but the laser software imported it as inches, or vice-versa.
- Solution: Always confirm your design file's units1 before exporting. As a failsafe, draw a simple 1x1 inch or 10x10 mm square in the corner of your design file. When you import it into the laser software, measure that square first. If it’s not the correct size, you know you have a scaling issue2 that needs to be adjusted in the import settings.
Conclusion
In the world of CO2 laser cutting, we often focus on machine specs—power, speed, and bed size. But as we've explored, the quality of the digital file is just as important, if not more so. The conversation shouldn't be about whether DXF is better than SVG, but about whether the vector paths within that file are clean and efficient. By prioritizing good 'geometric hygiene'—avoiding automated traces, ensuring paths are closed and unified, and checking for duplicates—you can eliminate the most common causes of slow, low-quality cuts. This shifts your focus from troubleshooting problems to producing perfect parts, saving time, material, and ultimately, your bottom line.