Skip to content
Are you excited to start cutting wood with your CO2 laser, only to end up with scorched edges, incomplete cuts, and wasted material? It's incredibly frustrating when you follow all the steps correctly, but your projects still fail. You start to question your machine, your settings, and your own skills. What if the problem isn't the wood type, but the hidden inconsistencies within each piece that are sabotaging your work?
The best woods for CO2 laser cutting are materials with low resin, consistent grain, and uniform density. Plywoods like Baltic Birch, solid woods like Basswood and Alder, and engineered woods like MDF are all excellent choices. Success comes from selecting quality, uniform sheets and precisely tuning your laser's power, speed, and focus to match the specific characteristics of the wood you are using.

I’ve been working at Redshift Laser for over five years, but my experience with these machines goes back much further. I often talk with purchasing managers like my friend John, who sources materials for a large company. He used to tell me how frustrating wood was. One batch of plywood would cut perfectly, and the next, from the same supplier, would be a total failure.
From the factory floor, I can tell you the preoccupation with wood 'types' is a novice's game. The actual production challenge isn't choosing between birch and basswood; it's battling the inconsistency within a single plank. A CO2 laser expects material uniformity, but it constantly meets hidden pockets of resin, dense knots, and unpredictable moisture. These are the real enemies that drive up waste and ruin jobs. Let's explore the common wood types, and then I'll share the tips that really matter for getting a perfect cut every time.
What Types of Wood Are Suitable for Laser Cutting?
Walking into a lumber store can be overwhelming. You see dozens of different woods, and you're not sure which one will give you that clean, professional look you want. If you choose a wood that's too resinous, you'll end up with a sticky, burnt mess. If it's too dense or has an uneven grain, the laser might not cut through cleanly, ruining your design and wasting your money.
The good news is that you only need to focus on a few key types that are known to work well with CO2 lasers. The most suitable woods for laser cutting fall into three main categories: plywoods, solid woods, and engineered woods like MDF. Each has its own strengths. Baltic Birch plywood is a favorite for its strength and stability, while Basswood is loved for its soft, even texture that's perfect for detailed engraving.

Understanding these main categories helps you make a better choice for your specific project. It's not about finding one "perfect" wood, but about knowing the characteristics of a few reliable options. This knowledge will help you match the right material to your design, whether you're cutting structural parts or engraving a detailed photograph. Let's look at the pros and cons of each category to see which one fits your needs best.
Plywoods: The Versatile Workhorse
Plywoods, especially Baltic Birch, are probably the most popular material for laser cutting. They are made by gluing together thin layers of wood veneer. This construction makes them very stable and less likely to warp than solid wood. However, the glue used in plywood can be a challenge. Cheaper plywoods often use glues that are difficult for the laser to cut through, which can lead to incomplete cuts and charring. That's why sourcing high-quality, laser-grade plywood is so important.
Solid Woods: The Natural Beauty
Solid woods like Basswood, Alder, and Cherry offer a beautiful, natural finish that you can't get with plywood. They tend to be more expensive but are fantastic for high-value items like gifts, signs, and decorative pieces. The key with solid wood is to find pieces with a straight, consistent grain and minimal knots. Basswood is extremely popular because it's soft and has almost no grain, making it incredibly easy to cut and engrave.
Engineered Woods: The Consistent Performer
Engineered woods, like Medium-Density Fiberboard (MDF), are made from wood fibers mixed with resin and pressed into sheets. The biggest advantage of MDF is its complete uniformity. There are no knots, no grain, and no hidden voids. This makes it extremely predictable to cut and perfect for projects that will be painted. However, MDF is essentially wood dust and glue, so cutting it produces fine dust and requires good ventilation.
| Wood Category | Key Advantages | Key Disadvantages | Best For... |
|---|---|---|---|
| Plywoods | Strong, stable, relatively low cost | Inconsistent glue layers can block the laser | Structural parts, boxes, jigs |
| Solid Woods | Beautiful natural grain, premium look | Can warp, knots can disrupt cuts, expensive | Signs, decor, personalized gifts |
| Engineered (MDF) | Perfectly uniform, smooth surface for engraving | Creates fine dust, not visually appealing raw | Painted projects, templates |
How Much Does Wood for Laser Cutting Cost?
You've got a project in mind, but you're worried about the cost of materials. It's easy to look at the price tag of a single sheet of "laser-safe" plywood and feel like it's too expensive, especially when you see cheaper options right next to it. You might be tempted to save money by buying lower-grade wood, but this often backfires.
The reality is that cheap wood is often the most expensive choice in the long run. When you factor in the time, effort, and frustration from failed cuts and wasted material, the higher-quality wood starts to look like a bargain. The price of wood is directly tied to its consistency. You're not just paying for the wood itself; you're paying for the manufacturing process that removes the knots, voids, and low-quality glue that ruin laser cutting projects.

The price of wood can vary a lot based on the type, thickness, and quality. A specialty wood like solid cherry will cost much more than a standard sheet of MDF. The key is to think about the total cost of your project, not just the upfront cost of the material. Spending a little extra on quality wood from a reliable supplier means more successful cuts, less waste, and ultimately, a lower cost per finished part. This is something my colleague John learned early on; paying for consistency saved his company thousands in the long run.
Plywood Pricing
Plywood is often sold in large sheets. Baltic Birch, the preferred choice for laser cutting, is more expensive than standard plywood from a big-box hardware store. This is because it has more layers, fewer voids, and uses a more laser-friendly glue. Expect to pay a premium for this quality, but your success rate will be much higher.
Solid Wood Pricing
Solid wood is typically sold by the board foot, and its price depends heavily on the species. Common woods like Alder or Poplar are affordable, while more exotic or figured woods can be very expensive. For laser cutting, you'll want thinner planks, which are often sold at specialty lumberyards or online stores catering to hobbyists.
MDF and Engineered Wood Pricing
MDF is generally the most budget-friendly option. It's mass-produced and highly consistent, so the price is stable. It's a great choice for prototyping or for projects that will be painted, as you get predictable results without the high cost of premium solid wood.
What Are the Applications for Laser-Cut Wood?
So you know which woods cut well, but you might be wondering, "What can I actually make with this?" It's easy to get stuck thinking about simple projects like coasters or keychains. But a CO2 laser opens up a massive world of creative and commercial possibilities far beyond small crafts.
The precision of a laser allows you to create products with a level of detail that would be impossible by hand. This unlocks opportunities in markets ranging from personalized gifts and home decor to architectural models and custom industrial parts. The ability to perfectly replicate a design over and over again means you can scale your ideas from a single prototype to a full production run, all on one machine.

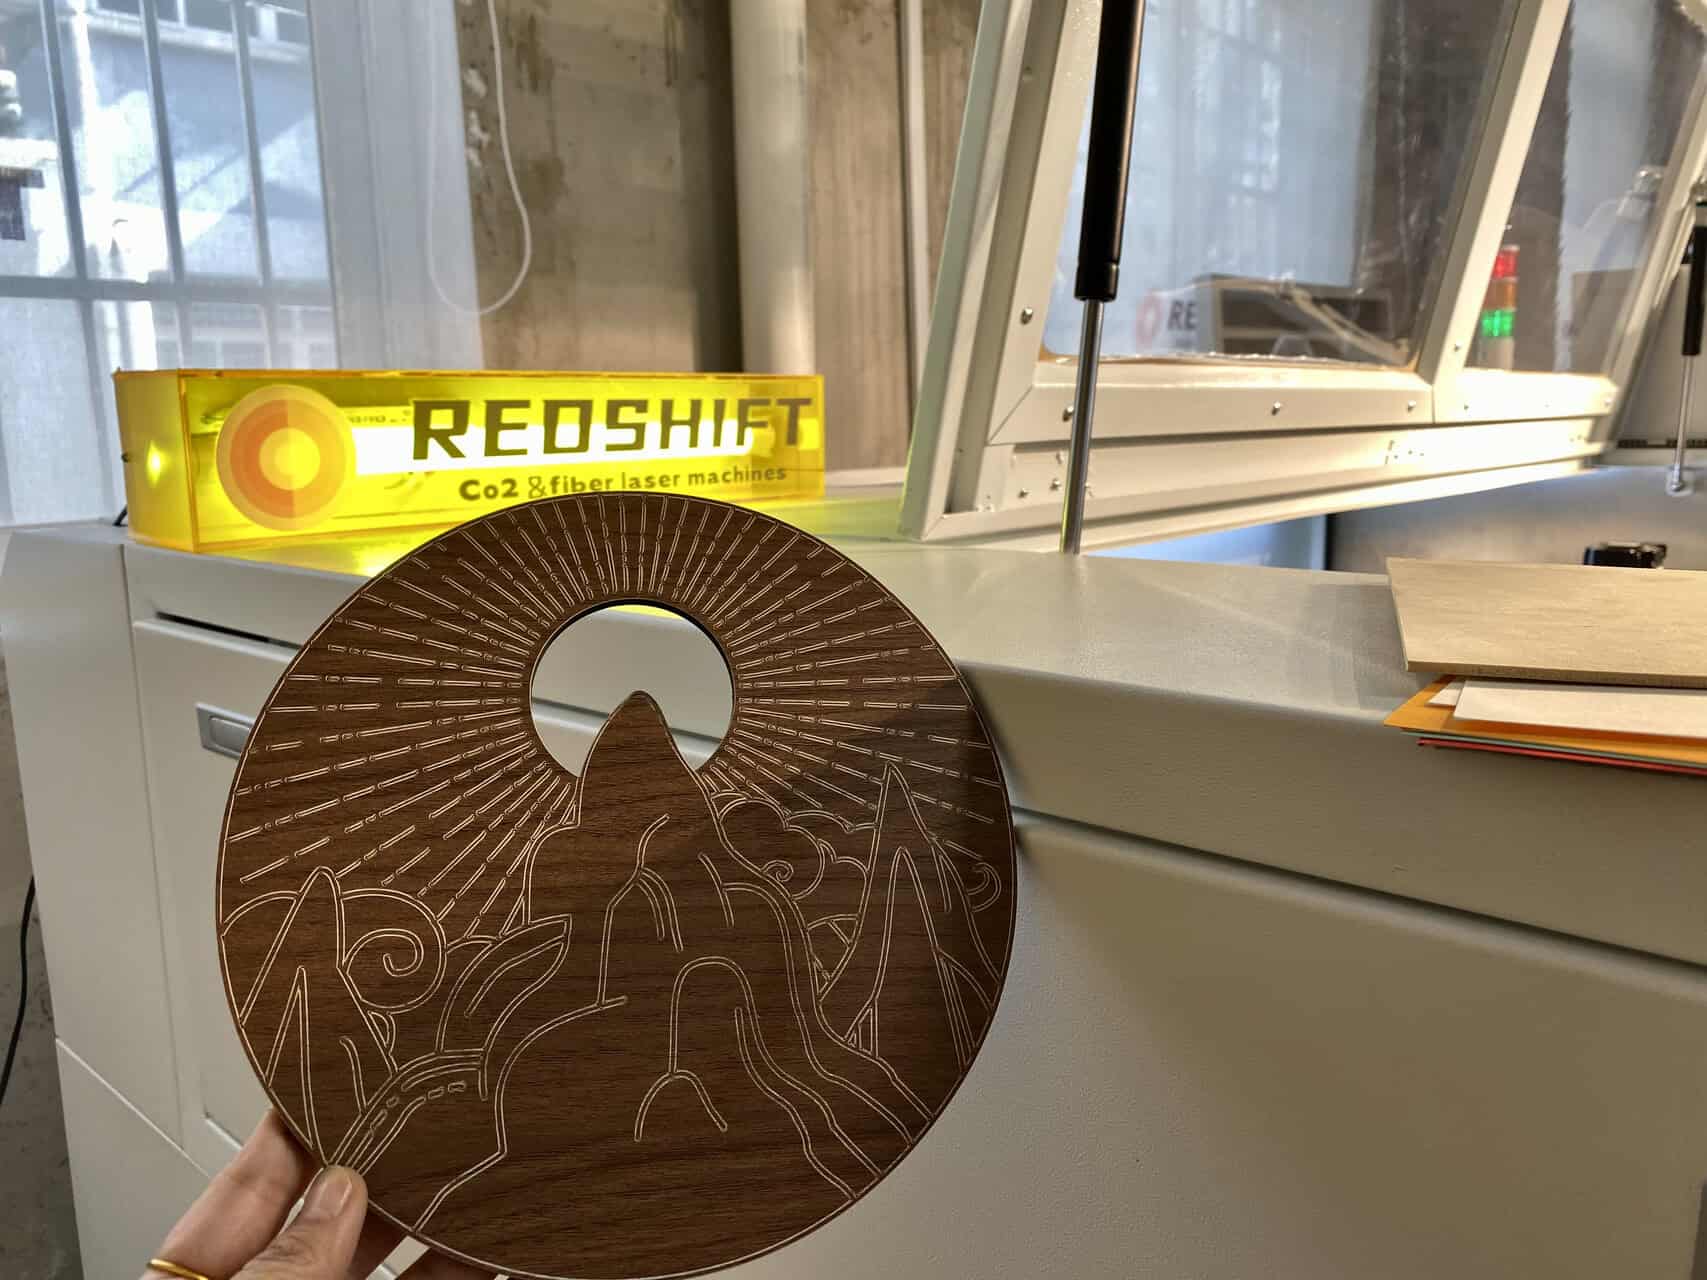
At Redshift Laser, I've seen customers build entire businesses around laser-cut wood products. We have clients who make intricate multi-layered wood maps that are true works of art. Others create custom promotional materials for businesses, or even functional prototypes for engineering firms. The applications are limited only by your imagination. The laser turns a simple piece of wood into a canvas for nearly any idea you can dream up.
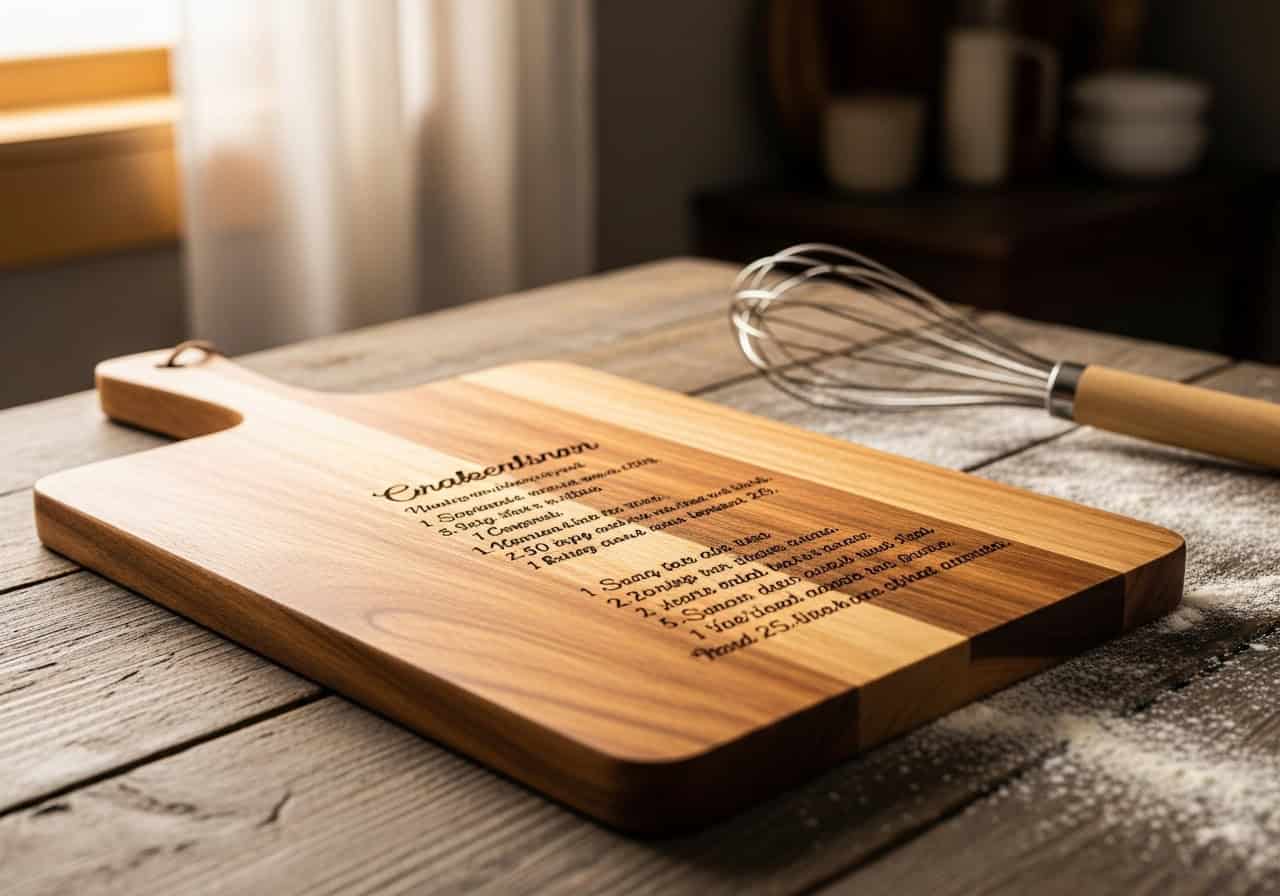
Custom Decor and Signage
This is one of the most popular applications. The laser can cut out complex lettering and logos with perfect accuracy. This is ideal for creating business signs, event decorations (like for weddings), and personalized home decor items. The ability to engrave fine details adds another layer of customization.
Prototyping and Model Making
Architects, engineers, and designers use lasers to quickly create detailed scale models and prototypes. Because the process is so fast and accurate, they can test ideas and make changes much more efficiently than with traditional model-making methods. Plywood and MDF are perfect for these applications.
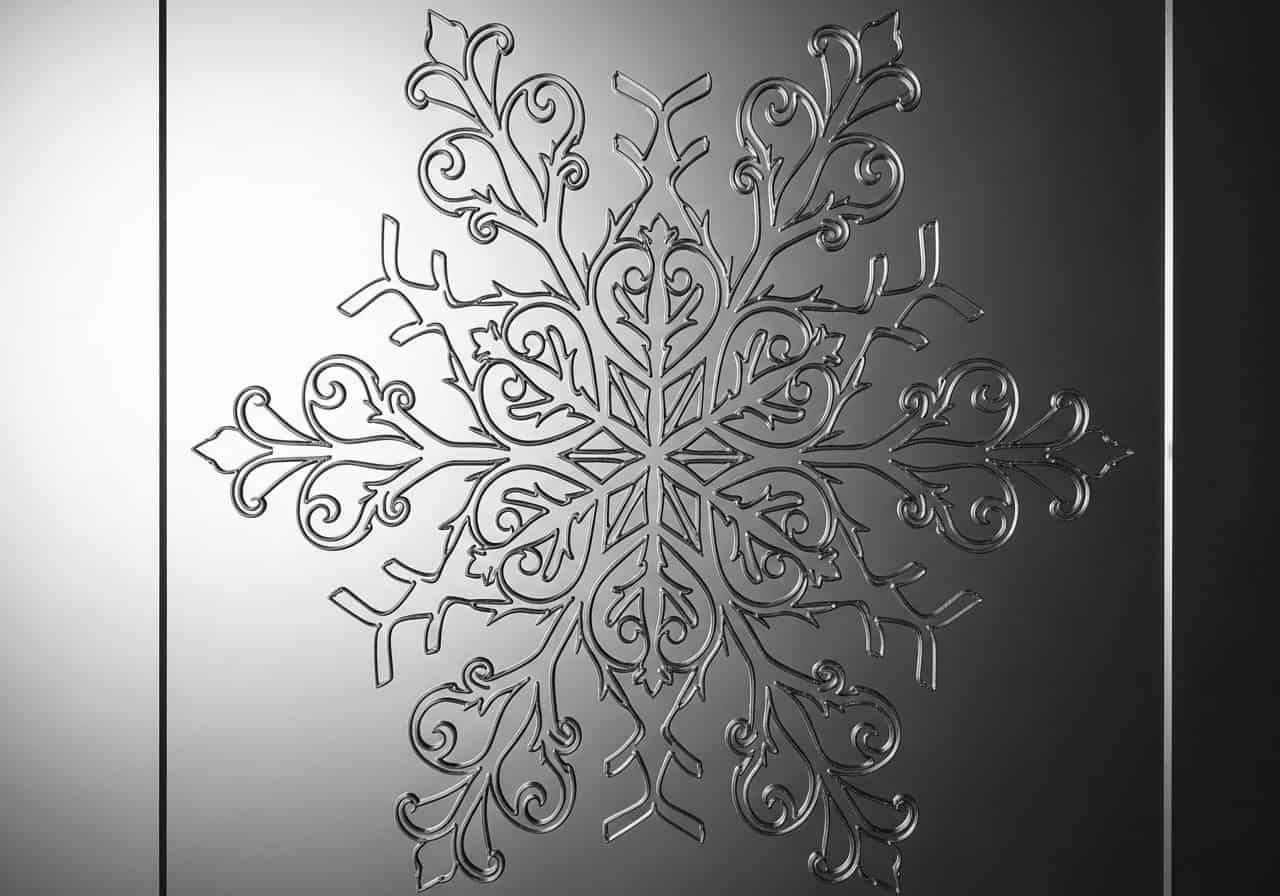
Inlays and Marquetry
For fine woodworking, a laser is an incredible tool for creating perfect inlays. You can cut the pocket and the inlay piece with the same digital file, ensuring a flawless fit every time. This technique is used to create stunning patterns on furniture, jewelry boxes, and musical instruments.
What Is the Process of Wood Laser Cutting?
You have your wood and your design, but you feel a little intimidated by the process itself. How do you go from a digital file on your computer to a perfectly cut physical object? You might worry that it's a complicated, technical process that's easy to mess up.
But the basic workflow is actually very simple and logical. It breaks down into three main stages: design, setup, and cutting. Your file is created in a design software, you prepare the machine with the right settings and material, and then you press 'start' and watch the laser do the work. The real skill comes from understanding how to properly prepare for each of these stages.

The process becomes second nature after you've done it a few times. The key is to be methodical. Always double-check your design file for errors, make sure your wood is flat and positioned correctly, and—most importantly—always run a small test cut on a scrap piece of the same material before starting your main job. This simple habit will save you from countless failed projects. I always tell new operators to treat the test cut as the most important step in the entire process.
Step 1: Design and File Preparation
Your project starts with a vector design created in software like Adobe Illustrator, CorelDRAW, or Inkscape. For cutting, the laser will follow lines, which are typically set to a specific color and a very thin stroke weight (like 0.001"). For engraving, the laser will fill in solid shapes or follow the dark parts of an image. Once your design is ready, you export it in a format the laser software can read, like DXF, SVG, or AI.
Step 2: Machine Setup
First, you need to turn on your laser cutter and your fume extraction system. Place your wood sheet on the machine's bed, making sure it is as flat as possible—warped wood will cause focus issues and inconsistent cuts. Next, you'll use the machine's controls to set the focus of the laser lens to the top surface of the wood. This is a critical step for a clean cut.
Step 3: Setting Parameters and Cutting
In the laser software, you'll import your design file and assign power and speed settings to the different parts of your design. For example, your cut lines will have high power and slow speed, while your engraving will have lower power and high speed. After sending the job to the machine, you can press the start button. It's important to always stay with the machine and monitor the cutting process for any issues, like flare-ups.
What Are the Best Tips For Wood Laser Cutting?
You know the basics, but your results are still inconsistent. Sometimes you get a perfect cut, and other times you're left with a burnt, unusable piece. You're trying different settings, but it feels like you're just guessing, and you're wasting a lot of expensive wood in the process.
This is where the real experience of an operator comes in. As I mentioned, the biggest challenge in cutting wood isn't the machine—it's the material itself. The most valuable tips are not about secret power settings; they are about how you select, prepare, and test your wood to account for its natural imperfections. Mastering these pre-production steps is what separates a novice from a professional and is the single best way to reduce waste and improve your success rate.

The best operators I know spend more time inspecting their material than they do tweaking their software settings. They know that a hidden pocket of resin or a slight warp in the wood can ruin a job, no matter how perfect the settings are. Learning to spot these issues before you press 'start' is a non-negotiable step to mitigate the financial impact of natural material variance. Let's cover the practical tips that will make the biggest difference in your work.
Tip 1: Always Do a Test Cut
Before you run a large job, always cut a small test shape (like a 1-inch square) on a scrap piece of the exact same material. This allows you to confirm your power and speed settings are correct without risking your main workpiece. This single habit will save you more time and money than any other tip.
Tip 2: Use Masking Tape
Apply a layer of wide masking tape over the surface of your wood before cutting. This helps to significantly reduce the smoke stains and charring that can appear on the top surface of the wood, especially during engraving. It gives you a much cleaner finish and saves you from a lot of sanding later.
Tip 3: Keep Your Wood Flat
A warped piece of wood1 is a major cause of failed cuts. If the wood bows up or down, the laser's focus2 will change as it moves, leading to spots where it doesn't cut through. Use weights or special magnets around the edges of your material to hold it down flat against the cutting bed.
Tip 4: Inspect Your Material
This is the expert-level secret. Look closely at your wood before you cut. Are there any dark, dense knots3 where the laser might struggle? Tap on the surface of your plywood—do you hear any hollow spots that might indicate an internal void or glue pocket? Sourcing from suppliers who provide consistent, high-quality material4 is one of the most important parts of the job.
Conclusion
Successfully cutting wood with a CO2 laser is about more than just knowing what type of wood to buy. The most critical factor is understanding and managing the natural inconsistencies found in every single piece. While choosing reliable materials like Baltic Birch, Basswood, or MDF is a great start, the real skill lies in material inspection and preparation. By always running a test cut, using masking tape for a clean finish, and ensuring your wood is perfectly flat, you can overcome the challenges of knots, resin, and moisture to achieve consistently professional results.
Relate
-
Understanding the causes of warped wood can help you prevent cutting issues and improve your projects. ↩
-
Learning about laser focus can enhance your cutting techniques and ensure precision in your work. ↩
-
This resource will provide insights into how knots can impact your laser cutting process and how to manage them effectively. ↩
-
Exploring this link will help you understand why high-quality materials are crucial for achieving the best results in woodworking. ↩